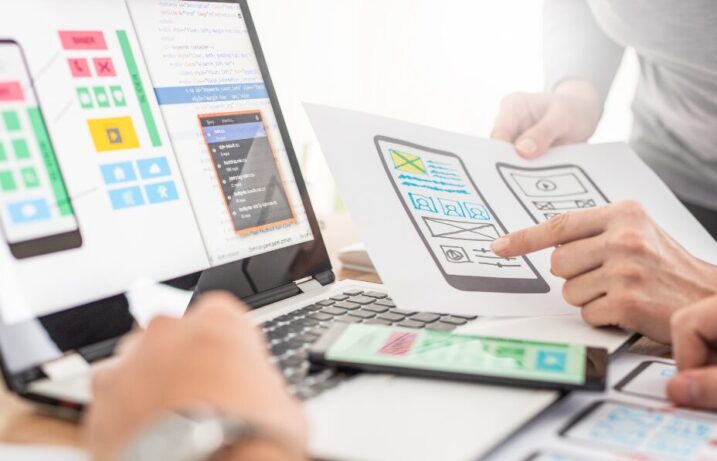
As product designers, we are responsible for delivering a wide variety of artifacts throughout the design process. The deliverables we create not only help us come to design decisions ourselves, but also help effectively communicate our decisions or ideas to key stakeholders. Wireframes and prototypes are probably the most common types of deliverables, because both present a highly visual way to communicate our ideas. A picture is worth a thousand words, right? But wireframing and prototyping come in all different levels of detail and are used at all different points in the product design process.
Before talking about the role wireframing and prototyping play at various stages in the product design process, let’s first try to define each of these deliverables from a high level.
Defining Wireframing and Prototyping
Picture this: you’re crafting an app, website, or new feature for an existing product. Before we jump right into crafting the final version of that app, website, or feature—the one with all the bells and whistles—we need to have a plan of attack. We need to strategize around what content we want to show users. What pages will need to live inside our product and what actions can users take on those pages? This is the role of wireframing.
Creating wireframes is like generating the blueprint of your grand design. They’re the skeletal structure of a product that helps us outline what content is needed and how it should be organized. Wireframing outlines the basic layout—where everything goes—and how users will navigate through your product. They map out the foundation without getting into too many details.
Okay, great! At this point we have an outline. We know what information we want to show on any given page and what actions need to be available to users. Now is the time to put that plan to test. This is where prototypes come in.
Prototypes bring your wireframes to life, adding function to the structure we’ve created. With prototypes, you’re not just showing where things go—you’re showing how they work. Clickable buttons, scrollable pages, interactive elements—they’re all here to demonstrate how the product should behave. Naturally, this makes prototypes the perfect artifact for designers and researchers to test our concepts with real end-users. Prototypes allow us to gather feedback and refine a design before going all-in on a product concept.
In the simplest terms, creating wireframes helps us shape our approach to solving a design problem. Prototyping tools allow us to test that plan, as they demonstrate in more detail how the product will work.
Low-Fidelity Wireframing and Prototyping
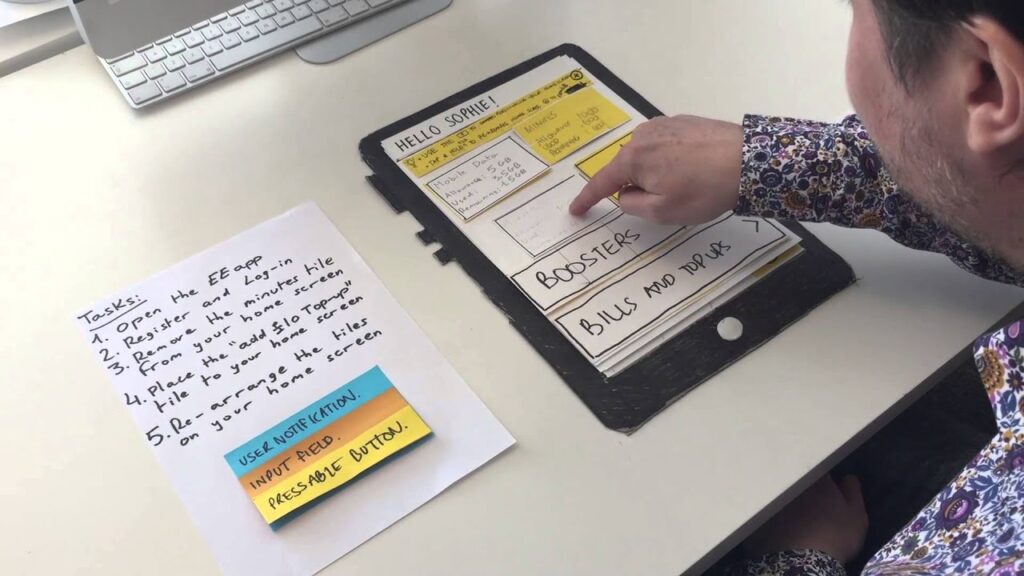
I mentioned that wireframing and prototyping exist all throughout the product design process and at different levels of detail. In the world of design, we refer to this as levels of fidelity. Levels of fidelity in product design refer to the degree of detail and realism incorporated into design prototypes. Low-fidelity design involves creating basic, simplified representations of a product or interface using minimal resources. Typically, this involves sketching with pencil and paper to create wireframes and prototypes.
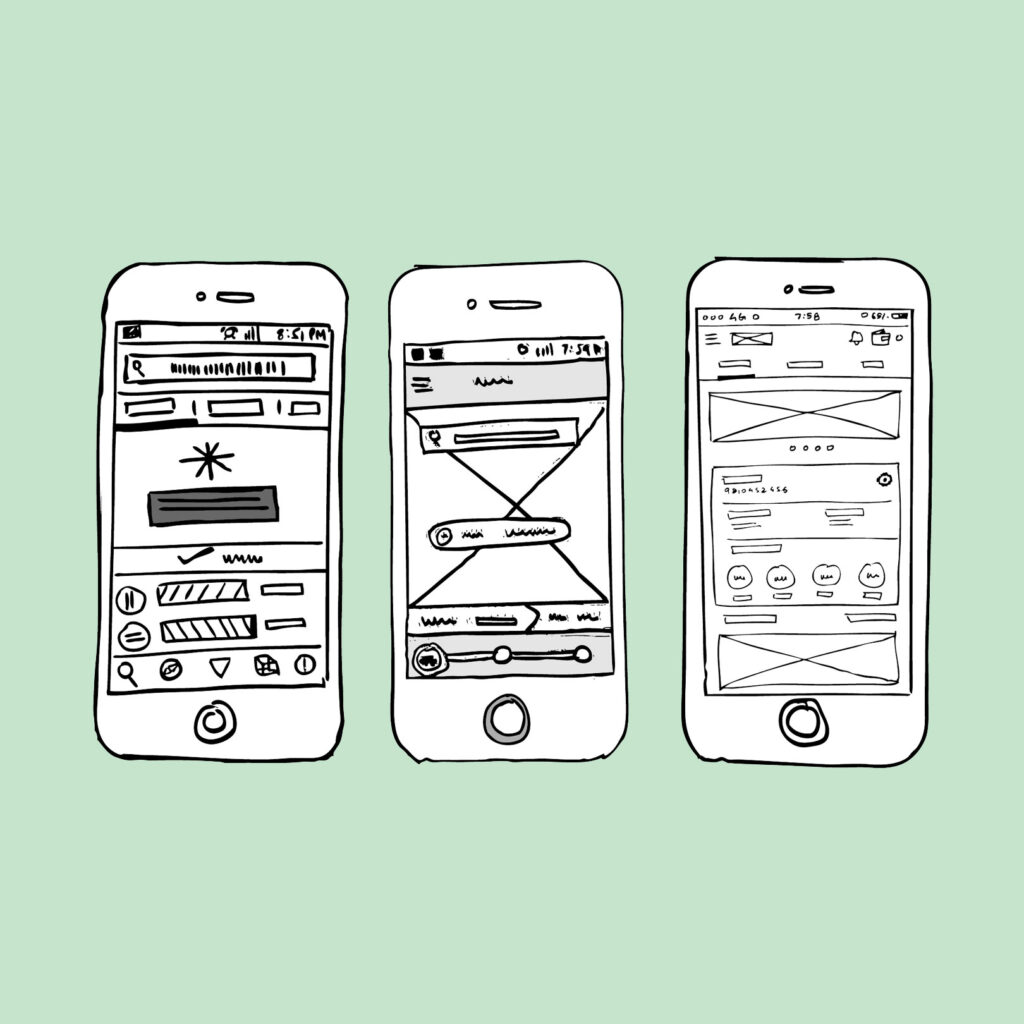
To begin wireframing and prototyping in low fidelity, designers start by outlining the basic structure and layout of the product or interface. They use simple shapes, lines, and text to represent various elements such as buttons, menus, and content sections. Pencil and paper are popular tools for this stage due to their accessibility and ease of use. The primary purpose is to communicate the concept broadly so our audience can think about the idea abstractly without getting bogged down in details that don’t matter at this point (like color and typography choices).
Testing Prototypes and Low-Fidelity Wireframes
Because we can create low-fidelity wireframes and prototypes so quickly, the product design process is highly iterative. Designers continually refine their sketches based on feedback and insights gathered from testing sessions to help determine which ideas are valid and which ones users find value in. This helps designers make decisions on which ones to pursue further. This iterative approach allows designers to explore different ideas quickly and make adjustments as needed.
Testing prototypes and iterating in low fidelity are crucial steps in the product design process. By gathering feedback from users early on, designers can identify potential issues and make improvements before investing significant time and resources into higher-fidelity designs. Iterating in low fidelity using prototyping tools allows designers to refine the user experience, ensuring that the final product meets the needs and expectations of its intended audience.
Wireframing and Prototyping: Mid-Fidelity to High Fidelity
Once we’ve settled on a concept we’ve validated in low fidelity, we can start thinking about our solutions in more detail. This is when designers start to think more critically about what information goes on each screen and how users will navigate through the product to accomplish core tasks. This is where designers begin to operate in mid-fidelity.
Mid-fidelity design sits between low- and high-fidelity design, offering a balance of detail and realism. This stage involves adding more visual elements and interactivity compared to low-fidelity wireframes (but still lacks the full polish and functionality of high-fidelity prototypes).
High-fidelity design, on the other hand, represents the most detailed and realistic version of a product or interface. It includes precise visuals, interactive components, and often closely resembles the final product in terms of appearance and functionality. Typically, high-fidelity prototypes are the final check before handing our decisions off for development.

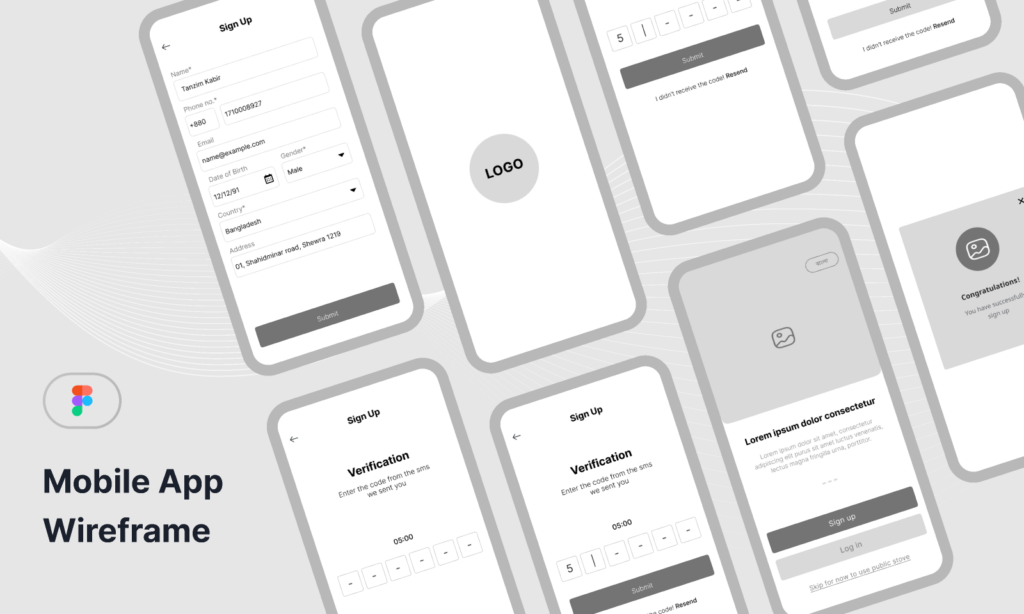
Wireframing and Prototyping Tools in Figma
Figma is a versatile prototyping tool used for visualizing our concepts and collaborating on design projects. It supports both mid-fidelity and high-fidelity prototypes one would create through the product design process, allowing designers to create detailed and interactive prototypes.
To start wireframing in mid fidelity using Figma, designers start by refining the basic structure and layout established in low-fidelity wireframes. There are tons of wireframe kits available in the community space to help get designers a head start in creating the components they need for their products. Once all the components, information, and structure is in place, designers can use Figma to add more detailed visuals, such as color schemes, typography, and images to convey the intended look and feel of the final product. Interactive elements, like clickable buttons and links, are also incorporated to simulate user interactions.
Testing Your Solutions
With both mid-fidelity and high-fidelity prototypes, testing is crucial to ensure a successful product on launch. In mid fidelity, designers are concerned about testing the information architecture. They need to answer questions like:
- Do users know how to navigate to another page?
- Where would users expect to find this specific information?
Once we know we have all the right pieces in place, we can then apply our visual design choices and interactions before testing again. This time testing is focused on usability. How well are users actually able to use the tool to solve for common tasks within the product? We can observe users to determine where they run into errors and inefficiencies so we can correct those earlier rather than after release (which could be frustrating for everybody).
Long story short, testing and iterating are essential components of the product design process, regardless of fidelity level. By testing prototypes and mid-fidelity wireframes, designers can gather valuable feedback on the overall user experience and identify areas for improvement. Iterating on these wireframes allows designers to refine their designs based on user feedback, ensuring that the final product meets user needs and expectations.
Ready to Elevate Your Design Skills?
Dive into our Product Design Bootcamp to master wireframing, prototyping tools, sketching, and Figma—all essential tools in today’s design landscape. Unlock your potential and kickstart your journey towards becoming a proficient and sought-after product designer by applying today. Don’t miss out on this opportunity to learn from industry experts and take your design career to new heights.