The following is a guest post by Ning Yap and originally appeared on his blog. Ning is currently a student at The Flatiron School. You can follow him on Twitter here.
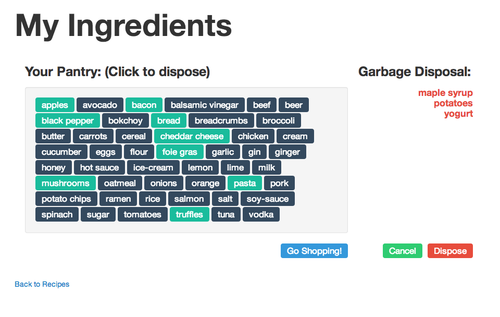
Play with the completed UI at recipeui.herokuapp.com!
UI Driven Development
The battle between front-end and back-end continues to be waged. But who cares about that? Let’s make a beautiful UI because it makes us happy!
Relevant JQuery Code:

selects the element, by element id being quite common and efficient.

captures a click event.

will write HTML code into your page directly.

hides an element by adding the CSS display property.

fades in your element.
Also, let’s use FlatUI, a Boostrap-wrapped theme. Download here!
Origin of The Pantry
So in class at the Flatiron School, we were asked to create a Rails app that mimicked the relationship between recipes and ingredients. But, we were not to instantiate new ingredients per recipe. Recipes would share Ingredient objects, only creating new instances if they didn’t already exist. Hence, the idea of a “pantry”:
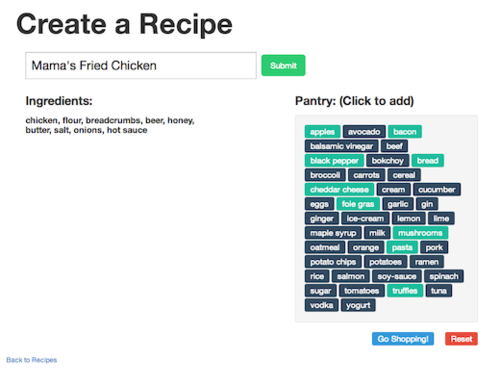
Idea: The pantry contains all ingredients available to the chef to create her recipe. If she doesn’t have the ingredients handy, she must go shopping at the local marketplace.
UI Concept: How about clicking on visual representations of ingredients in the pantry and “popping” them into the recipe list? Sounds awesome right?
Death To The Dropdown!
My golden rule for dropdown menus is don’t use them. They suck. Especially if you have more than 10 elements. -Me
How to Achieve The Desired UI and Experience Nirvana
First, suffer deeply through the difficulty of implementing a fun UI interface via a JavaScriptERB partial from scratch. Just kidding! It’ll be much better for you since you can just borrow my template. 🙂
Here’s what the brute-force code looks like:
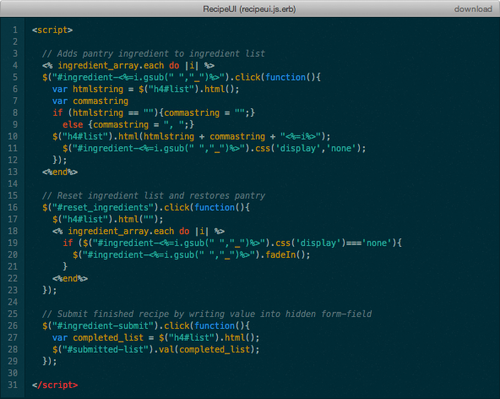
There are two actions associated with a click. It must hide the pantry item and append to the recipe. If you don’t hide the pantry item, recipes could have duplicate items. Use ERb each loops to loop through the entire ingredient list and create a JQuery click action for each. A reset action “resets” the recipe and refresh the pantry. A submit action writes the finished recipe to the hidden form field on the page.

Reference each ingredient element by assigning a dynamically generated id in your view HTML ERb

Pass the render function the js.erb partial and a local variable encapsulating all your ingredients.

And it’s just that simple!
Recycle Your Code (still keepin’ it DRY)
-
Make the necessary adjustments to your Edit view, i.e. hide the elements that are already in the recipe.
-
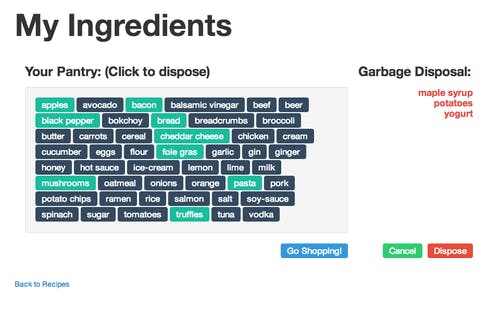
Add a minor twist and make a garbage disposal! 🙂
-
Give it some flair by hiding the disposal until the user tries to dispose. Fade out if the user changes his mind and cancels.
Check out the repo for how-to.
Switch Up. Make a Shopping Cart Text Field!
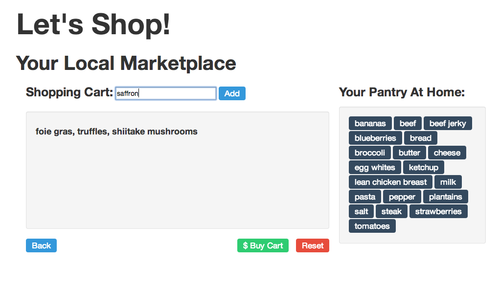
Same principles here. Clicking add should pop the typed text into the cart. It takes just a few different lines of code. When you “submit” the form (text field) by clicking the “add” button, it will try to redirect you to a new page. Kill that action by putting this code in the “action” attribute of the form.

Add some simple animation. Make the field shake if the user tries to add badly-formatted items.

Polish that UI
How about a cool feature to highlight the new items you just bought? Use the .updated_at method and subtract from Time.now.

Make the colors of the buttons refer to their usage!

How about smartly listing the ingredients in the main recipe window? Show the first four ingredients and then append a “…” if there are more ingredients. With ERb, the world is your oyster recipe.
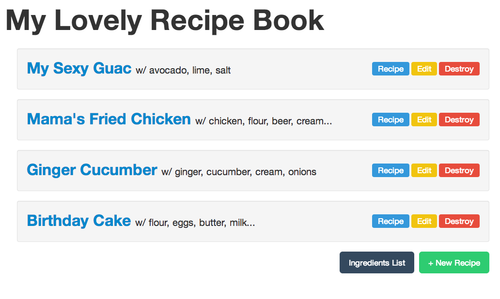
Now go generate your own ERb.js UI!
