One of the biggest differences between professional software developers — compared to most people — is the care and precision with which they set up their computers. In this article, I’m going to run through the process of getting a Mac ready to program professionally using the Ruby programming language.

Why Ruby?
There are lots of great languages for programming in, but Ruby is still my favorite. From the conceptual elegance of “everything is an object” to the power and efficiency of Ruby on Rails for building websites quickly, it’s the language I wish I’d learned. I started off in C, before trying my hand at various types of assembler, Smalltalk, Perl, ASP, Visual Basic, ColdFusion, Groovy, Java, C# and of course some JavasScript. It’s a powerful, flexible, and easy to learn introduction to the world of programming.
Why a Mac?
There are many solid Operating Systems (OS’s) for programming. Linux distributions like Ubuntu are powerful and allow you to use cheaper commodity hardware. and Windows may not be as bad for programming as it was just a few years ago, but coding using many open source projects and languages (including Ruby) on a Windows machine is still not recommended. If you’re willing to use an OS like Ubuntu, you shouldn’t need anyone to teach you how to install software!
What is a professional development environment?
Opinions vary, but if you want to program professionally on a Mac using Ruby, I think a good starting point is:
-
The latest version of your OS
-
A package manager for downloading general software
-
A Ruby package manager for downloading Ruby gems
-
Git for version control
-
Postgres for a relational database
In this article, we’ll go through the process of installing them all.
The latest version of your OS
Unless there is a specific reason not to upgrade (such as a conflict with any of the programs you depend upon), it’s a good idea to keep your OS up to date. To check if your OS is up to date, click the Apple icon in the top left of your screen and then select “About This Mac.” You should see a modal window pop up like this:

Click on Software Update and it’ll pop up another window:
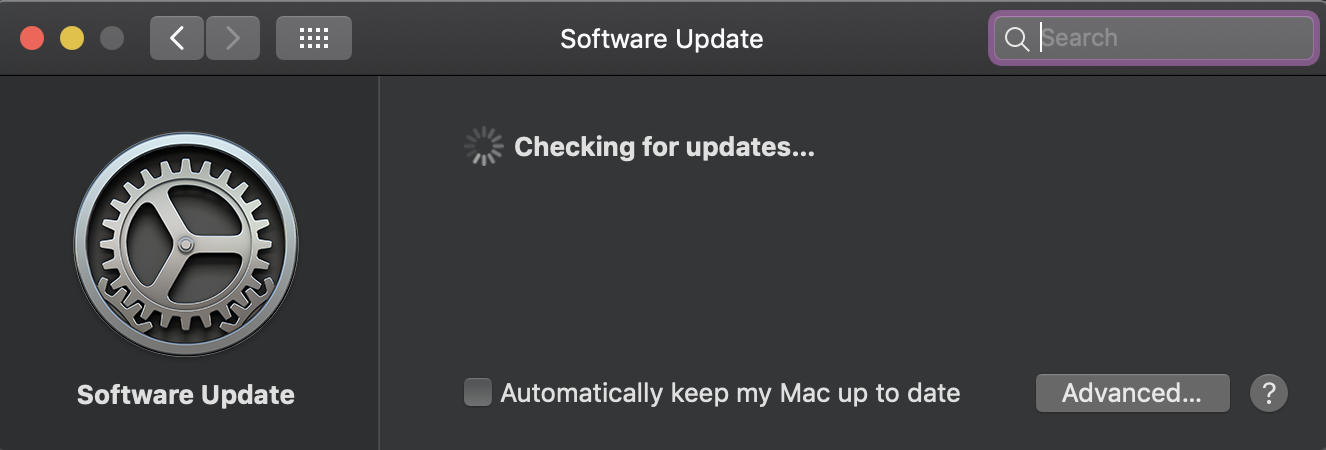
If there are any updates, install them now. If you want to keep up to date, you might want to check the “Automatically keep my Mac up to date,” but then you run into the risk of being one of the first people to find out that postgres (or something else) doesn’t work when a new OS version drops. In a perfect world, don’t check the box, but do check for updates regularly.
A package manager for downloading general software
OK, so we updated our OS. That’s something that everyone should do. But, what about installing a package manager? That’s something which is most often done by programmers.
There are lots of ways of installing software onto your Mac. You could select it using the app store or download it from a website. Heck, you could even buy a DVD and load it up that way if you happen to have an external DVD-ROM drive. Another way used regularly by programmers is to install a package manager.
A package manager is a piece of software designed to help you to install the kinds of software that developers use and need — anything from small utilities like wget that make it easy to use the command line to download stuff from the web to full relational databases like MySQL or PostgreSQL.
These days, Homebrew is the package manager of choice for anyone on a Mac.
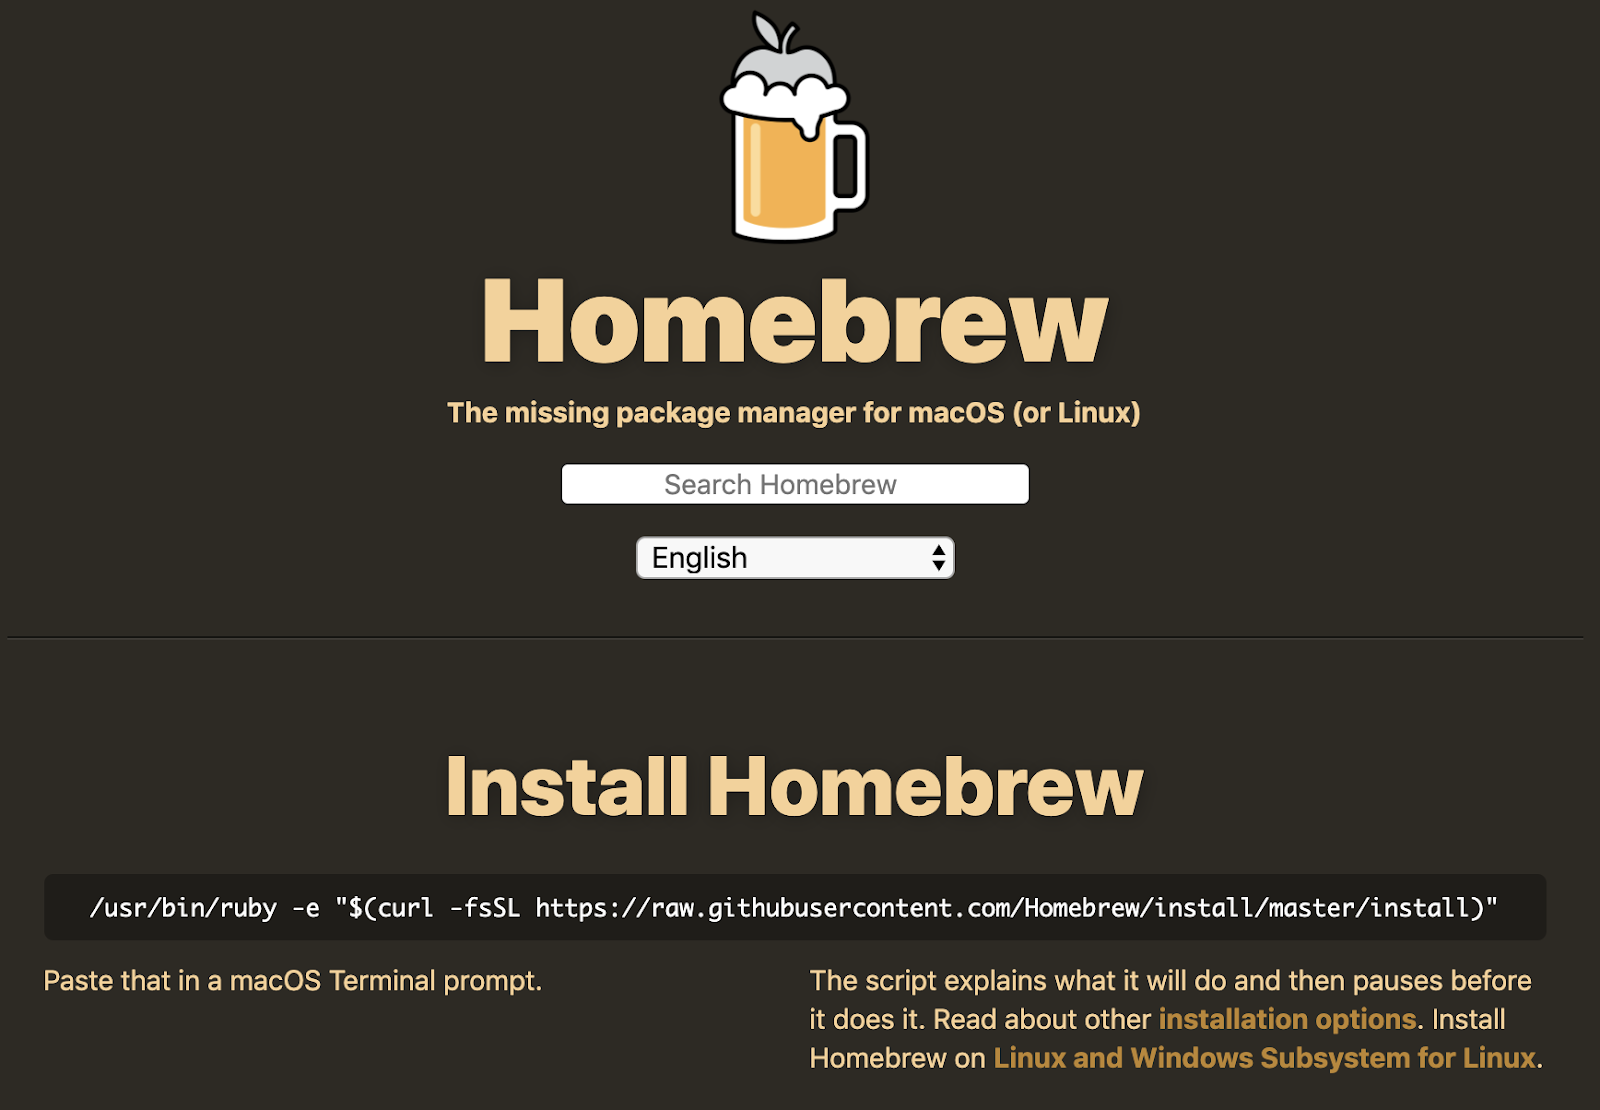
To install it, go here: https://brew.sh/ and follow the instructions by opening a terminal window and running
/usr/bin/ruby -e "$(curl -fsSL https://raw.githubusercontent.com/Homebrew/install/master/install)"
And just to make sure it’s up to date and all working, run the following commands and follow any instructions that they provide:
> brew update

> brew doctor
A Ruby package manager for downloading Ruby gems
Now that we’ve got a general package manager, we also want to download a package manager for our Ruby projects.
Why would we need that? First, as a developer, you may find yourself working on multiple projects. It’s not unusual for them to require different versions of the Ruby programming language. A package manager allows you to install multiple versions of Ruby (and with a tool like RVM multiple sets of gems – reusable libraries) allowing you to quickly and easily switch between versions of Ruby for different projects.
Other version managers include RVM and rbenv, although asdf-vm is also a great choice if you want one package manager for multiple programming languages. Today I’m going to propose installing RVM, but there really isn’t a clear consensus among developers around which is best, so don’t be surprised if you get asked to change your version manager when you get a job as a developer depending on the strength of that team’s preferences.
Screenshot courtesy of RVM
To install RVM, just go here and follow the installation instructions.
Git for version control
Next up, we need a version control system. Version control systems allow you to keep track of the changes made to a set of files over time. Most of them also support “branching,”which allows different developers to work on different features independently before “merging” their work back in. These days the vast majority of developers use git.
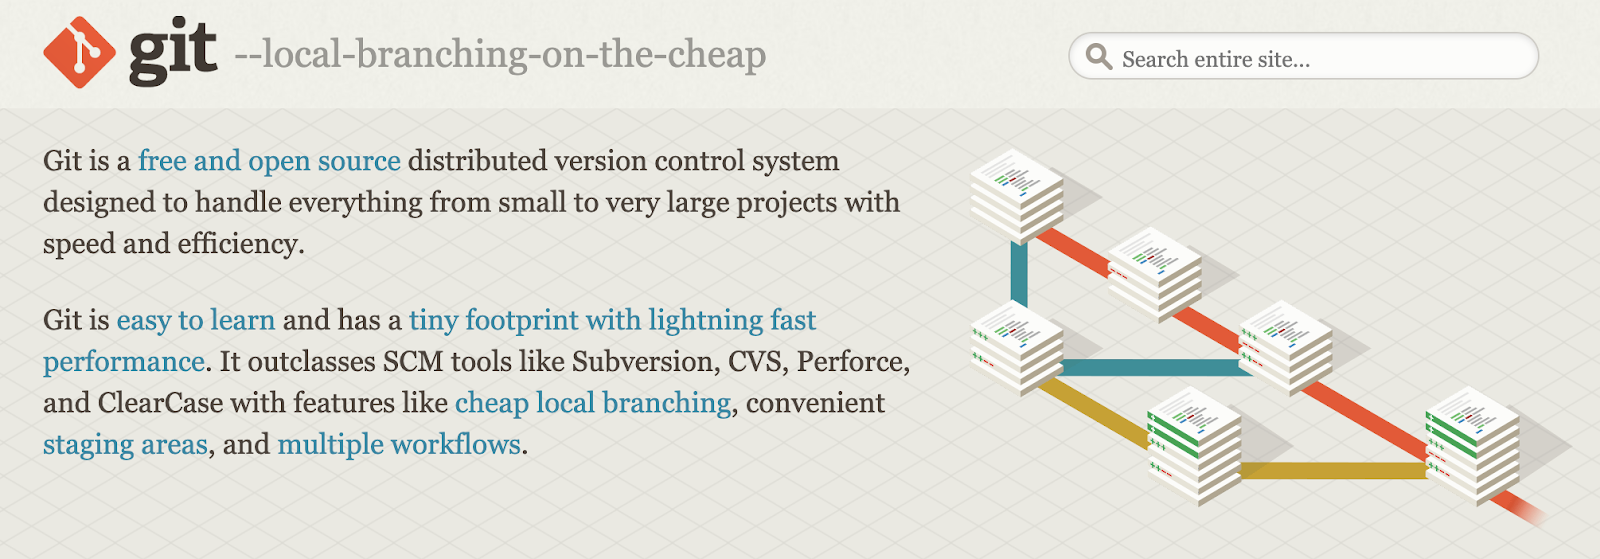
Screenshot courtesy of git
To install git, now that you have homebrew, all you need to do is open a terminal window and type:
> brew install git
You probably also want to set the simplest configuration options up so git “knows who you are” when making commits. Once you have git installed, confirm it works by typing:
git --version
As long as it returns some kind of version number, not an error message, git is now installed on your machine! Then to set your name and email, just type:
git config --global user.name “Your Name”

git config --global user.email user@email.com
Postgres for a relational database
We’re getting close now! Not everyone requires Postgres, but if you’re building web applications and responsible for backend coding, it’s a pretty good default database.
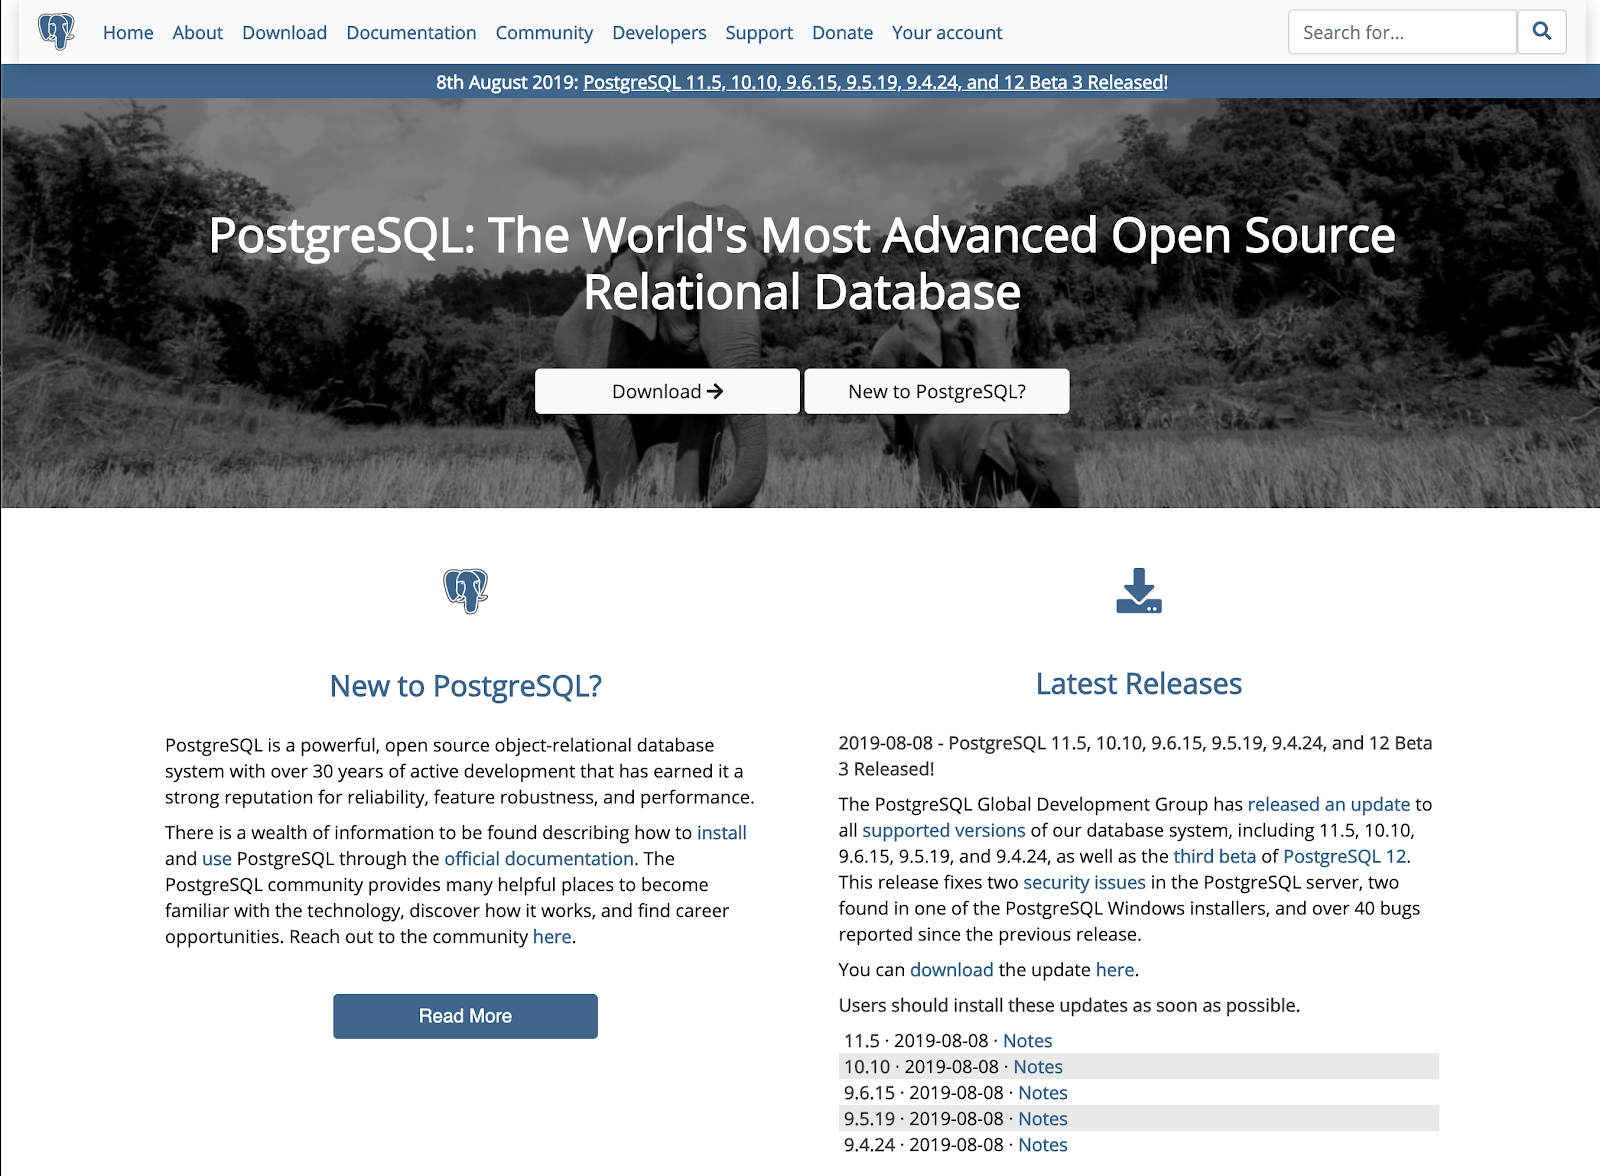
Screenshot courtesy PostgreSQL
With homebrew, installation is generally pretty straightforward. First, you’ll want to open up a terminal window to run the installation command:
brew install postgresql
Then if you’d like postgres to run automatically every time you start up, you’re going to have to have a LaunchAgents directory and put a special command in it. In a terminal window:
Create the directory (no problems if you get the error that it already exists):
mkdir -p ~/Library/LaunchAgents
And then you need to run the two commands that were displayed in your terminal a minute ago when you installed postgres. They should look something like this, but may be different depending on how your computer is configured:
ln -sfv /usr/local/opt/postgresql/*.plist ~/Library/LaunchAgents

launchctl load ~/Library/LaunchAgents/homebrew.mxcl.postgresql.plist
Next steps
Congratulations! You’ve now got the foundations of a good professional software development environment on your Mac!