How to Get Started With GitHub

In this article we’ll look at what GitHub is, the problems it’s designed to solve, and we’ll take a run at the basics of creating, copying, and contributing to projects hosted on GitHub.
If you want to become a professional software developer, you’ll need to become familiar with GitHub. Whether you’re sharing your personal projects, working on company code, or using or contributing to an open source project, chances are you’ll be using GitHub.
In this article we’ll look at what GitHub is, the problems it’s designed to solve, and we’ll take a run at the basics of creating, copying, and contributing to projects hosted on GitHub. Before you start, make sure you’ve got Git set up on your computer!

What is GitHub?
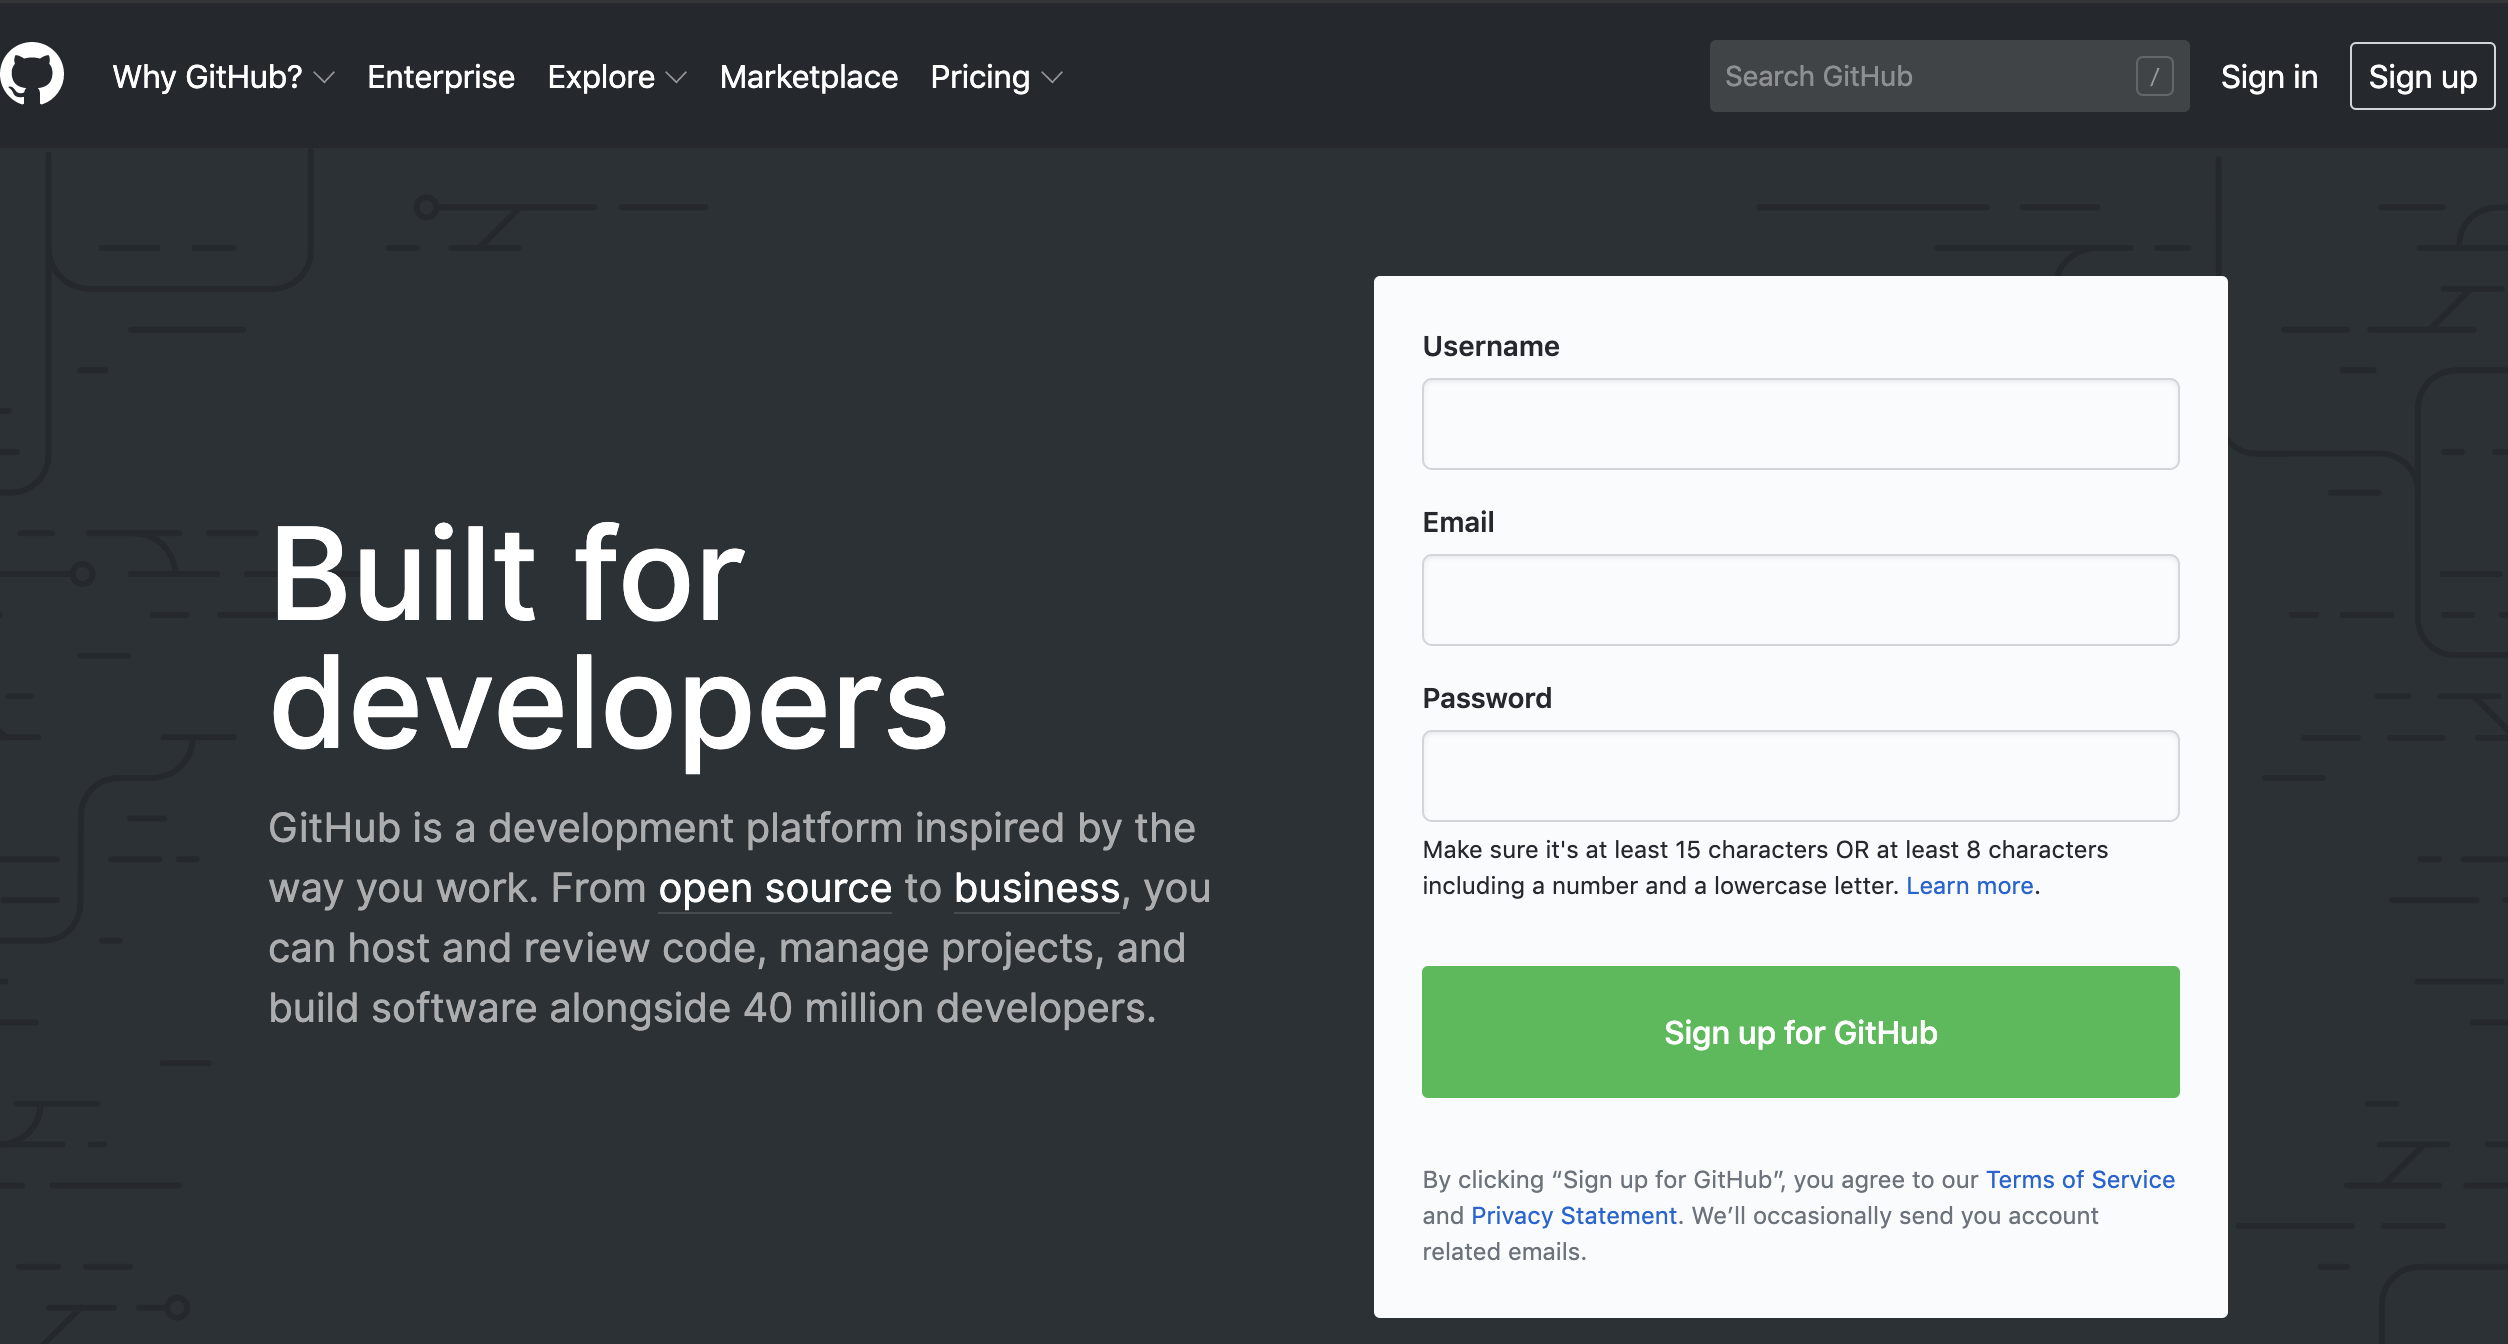
GitHub is a website that allows you to save, download, and collaborate on code with other people. If you don’t already have an account, this is a good time to set one up! Just go to https://github.com/ and enter a username, valid email address and password, and click the button to “Sign up for GitHub.”
Why is it important?
To understand the importance of GitHub, we have to go back to 2009. Back then, open source software was becoming popular, but most projects still relied on a small number of contributors. Why? Because if you wanted to make an improvement to an open source project, you had to write the code, save it using a version control system and then email the “patch” (set of changes) to one of the core committers.
So firstly, you need an email address for one of the core team members. Next, they had to look at your code and email you back comments. There might be suggestions to follow their code layout conventions more consistently or that you add something else to your patch. You’d make those changes, save them, and send them an updated patch file. Then the committer would probably forward your email to a couple of other trusted contributors, collate their feedback, send it to you, and then you’d send a final patch file with the approved changes for them to merge in.
That’s a whole lot of work for what could potentially be a small change!
Because many projects were run by volunteers, it generally wasn’t worth the overhead to review, respond to, and merge in many of those contributions.
GitHub transformed all of that. With any project hosted publicly on GitHub, all you have to do is view the project, click the “fork” button to get your own copy of the project, make the changes you want, save them, and then click a button to submit a “Pull Request” (PR) to request that one of the owners of the project “pull” your work into their code. Creating a Pull Request also creates a web page where anyone interested in the project can review your code and provide feedback.
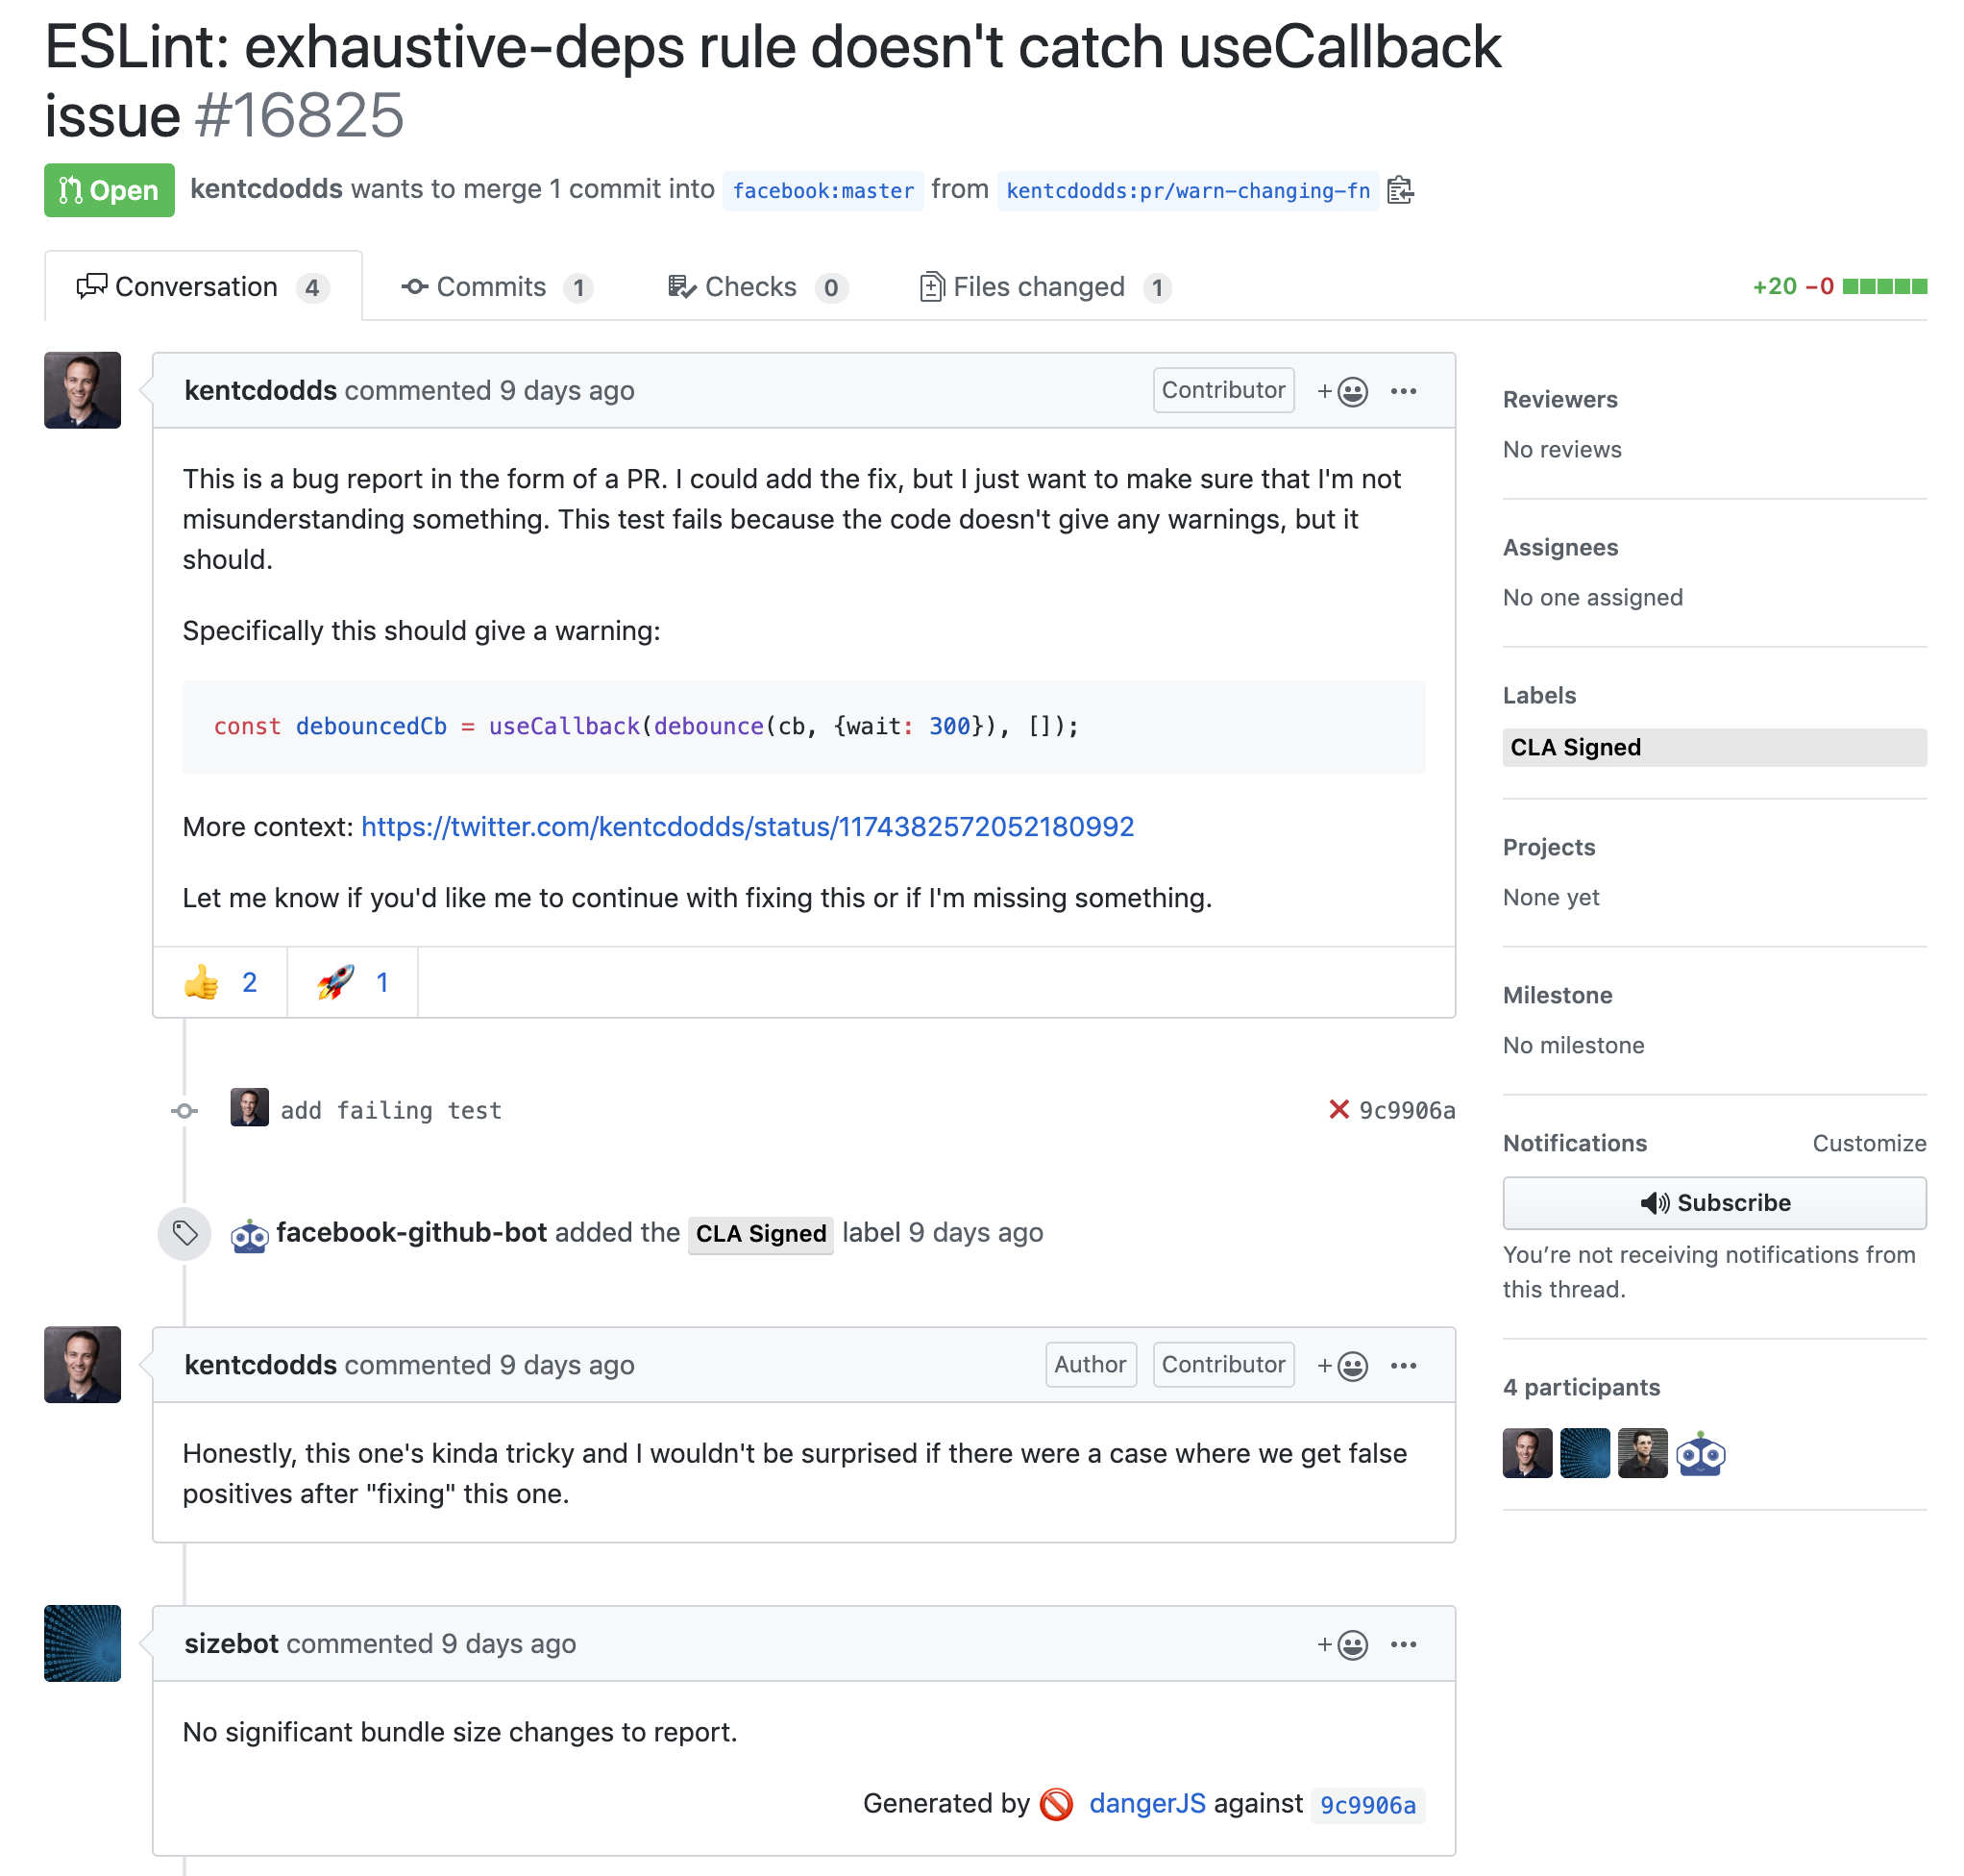
It’s even possible to have “bots” get in on the action like the PR below. The React open source JavaScript project has a “sizebot” confirm that the proposed changes don’t make the overall size of the project unreasonably big. Here’s the URL if you want to check out the PR yourself https://github.com/facebook/react/pull/16825.
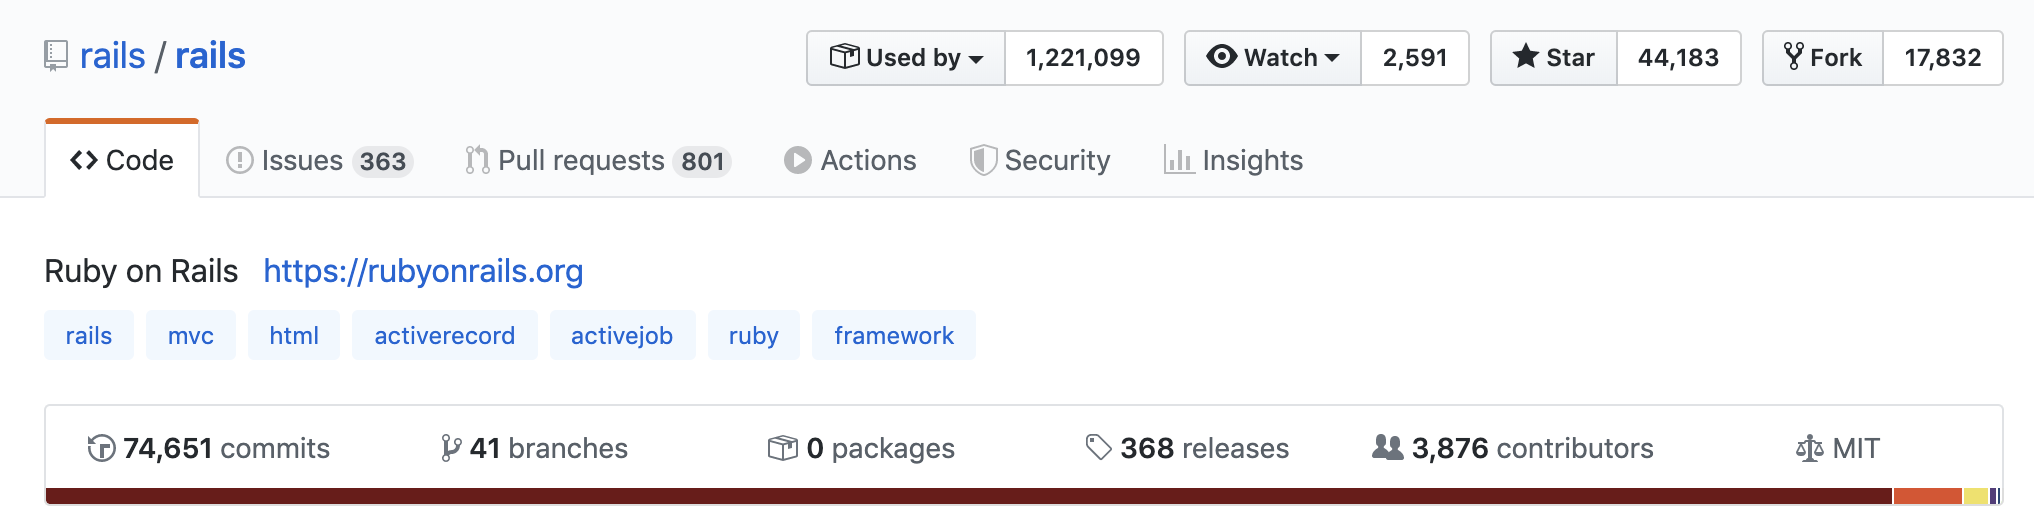
To give you an idea of the scale of impact that GitHub had on open source projects, a decade ago, even popular projects would only have 20-50 committers. These days React has 1,337 and Rails has 3,876!
Beyond open source
Pull Requests are an excellent way to allow for low-friction contribution from a large number of potentially untrusted people — the default scenario for open source projects. It’s easy for anyone to make an improvement in a project, submit a PR, and for the core team to review and close, provide feedback on, or “merge” the work into the project, reducing the cost and complexity of collaboration for large, distributed, part-time teams.
It turns out that, in addition to being a good way for open source projects to solicit contributions, PRs are also a pretty solid way for a full time dev team to collaborate on a code base. Each developer (or developers) creates a new branch within the repository (a new stream of work within the project). Then they create a PR where the team can review the state of progress of the code and can attach artifacts like mock ups and performance test data so everything you need to know about the new feature is sitting on the PR page.
Finally, when the feature is done, reviewed, and passing all of the automated tests, any member of the team with sufficient permissions can just “merge” the work back into the “master” (main) branch and closing the PR. The team then moves on to the next feature/branch/PR.
Because of this, most companies now use GitHub or a similar tool (Atlassian Bitbucket or Gitlab are common alternatives) to store and collaborate on their code. If you work as a professional software developer, it’s very likely that you’ll collaborate with your team using GitHub or a similar site.
What can you do with it?
There are three main use cases for GitHub:
-
Personal projects – Do you ever get the urge to write a script to automate an annoying set of tasks or to build a web or mobile app — or even something cool for an Arduino? GitHub is a perfect place to store your code. You can upload it so you’ll never lose it when your laptop dies, and if you ever want to share your code publicly, or with selected collaborators, it’s easy to either make it public or to allow specific users to access your repository.
-
Work projects – Your company will decide what infrastructure you use for collaborating on code, but there’s a good chance that it’s either going to be GitHub or another service providing very similar functionality. Being familiar with collaboration using branches and PRs will make it much easier for you to get a job as a software developer.
-
Open source projects – Even if you just want to use an open source project, you may well find yourself going to the repo on GitHub to learn more about how to work with it or to see if the error you’re running into is a “known issue”. And if you ever want to start to contribute to a project (hint – documentation and tests are pretty easy to create and are almost always appreciated – especially for smaller projects), it’s where you’ll go to fork the project and submit your PR.
How do you get started?
Let’s try two things – creating a project and contributing to a project.
Creating a project
Let’s imagine we want to create a project for a new website. Let’s go through the first few steps of ensuring we’re not in a Git repo, creating a repo, and saving a couple of files.
First, open a terminal window (on Linux or Mac, any shell will do – in Windows, you’ll want to use Git Bash – not Powershell).
Let’s make sure we’re not already within a Git repo (which would confuse both Git and us!)
> git status

fatal: not a git repository (or any of the parent directories): .git
Perfect – we’re not in a Git repo. Next up let’s create one:
> git init my-cool-website

Initialized empty Git repository in /Users/peterbell/Dropbox/code/my-cool-website/.git/
Perfect. You can see I’m keeping my code within the Dropbox/code directory within my users directory, and that it’s created a new subdirectory with the name I passed to the git init command. Now let’s go into that directory:
> cd my-cool-website

my-cool-website git:(master)
My shell happens to be telling me that I’m in a Git repository and that I’m on the master branch (I use zshell and the popular oh my zsh framework on a Mac). Next up let’s create a homepage for the website. We can use the Unix “echo” command to write text to a file:
> echo "Hello world" >> index.html
And let’s make sure that worked by using the “cat” command to output the contents of the file:
> cat index.html

Hello world
Perfect. Now let’s save our changes:
> git add .

> git commit -m “Create home page”

[master (root-commit) 4854911] Create home page

 1 file changed, 1 insertion(+)

 create mode 100644 index.html
Great, we’ve created the first (root) commit in the repo and saved the new home page. Now it’s time to share it with the world. First, we need to go to GitHub, log in, and click the “+” icon just to the left of our image in the top right of the page:

When you click on it, you’ll see a drop down. Select “new repository” and in the form that appears, enter the repo name. Let’s make it the same as the directory/project name “my-cool-website” to stop anybody from getting confused. Then decide whether to make it public or private, and click the “Create repository” button at the bottom of the form. Don’t check the box to “Initialize this repository with a README” — that’s great if you start in GitHub, but if you already have a Git project it just makes your life more difficult.

You should then be taken to a page that looks a little like this:
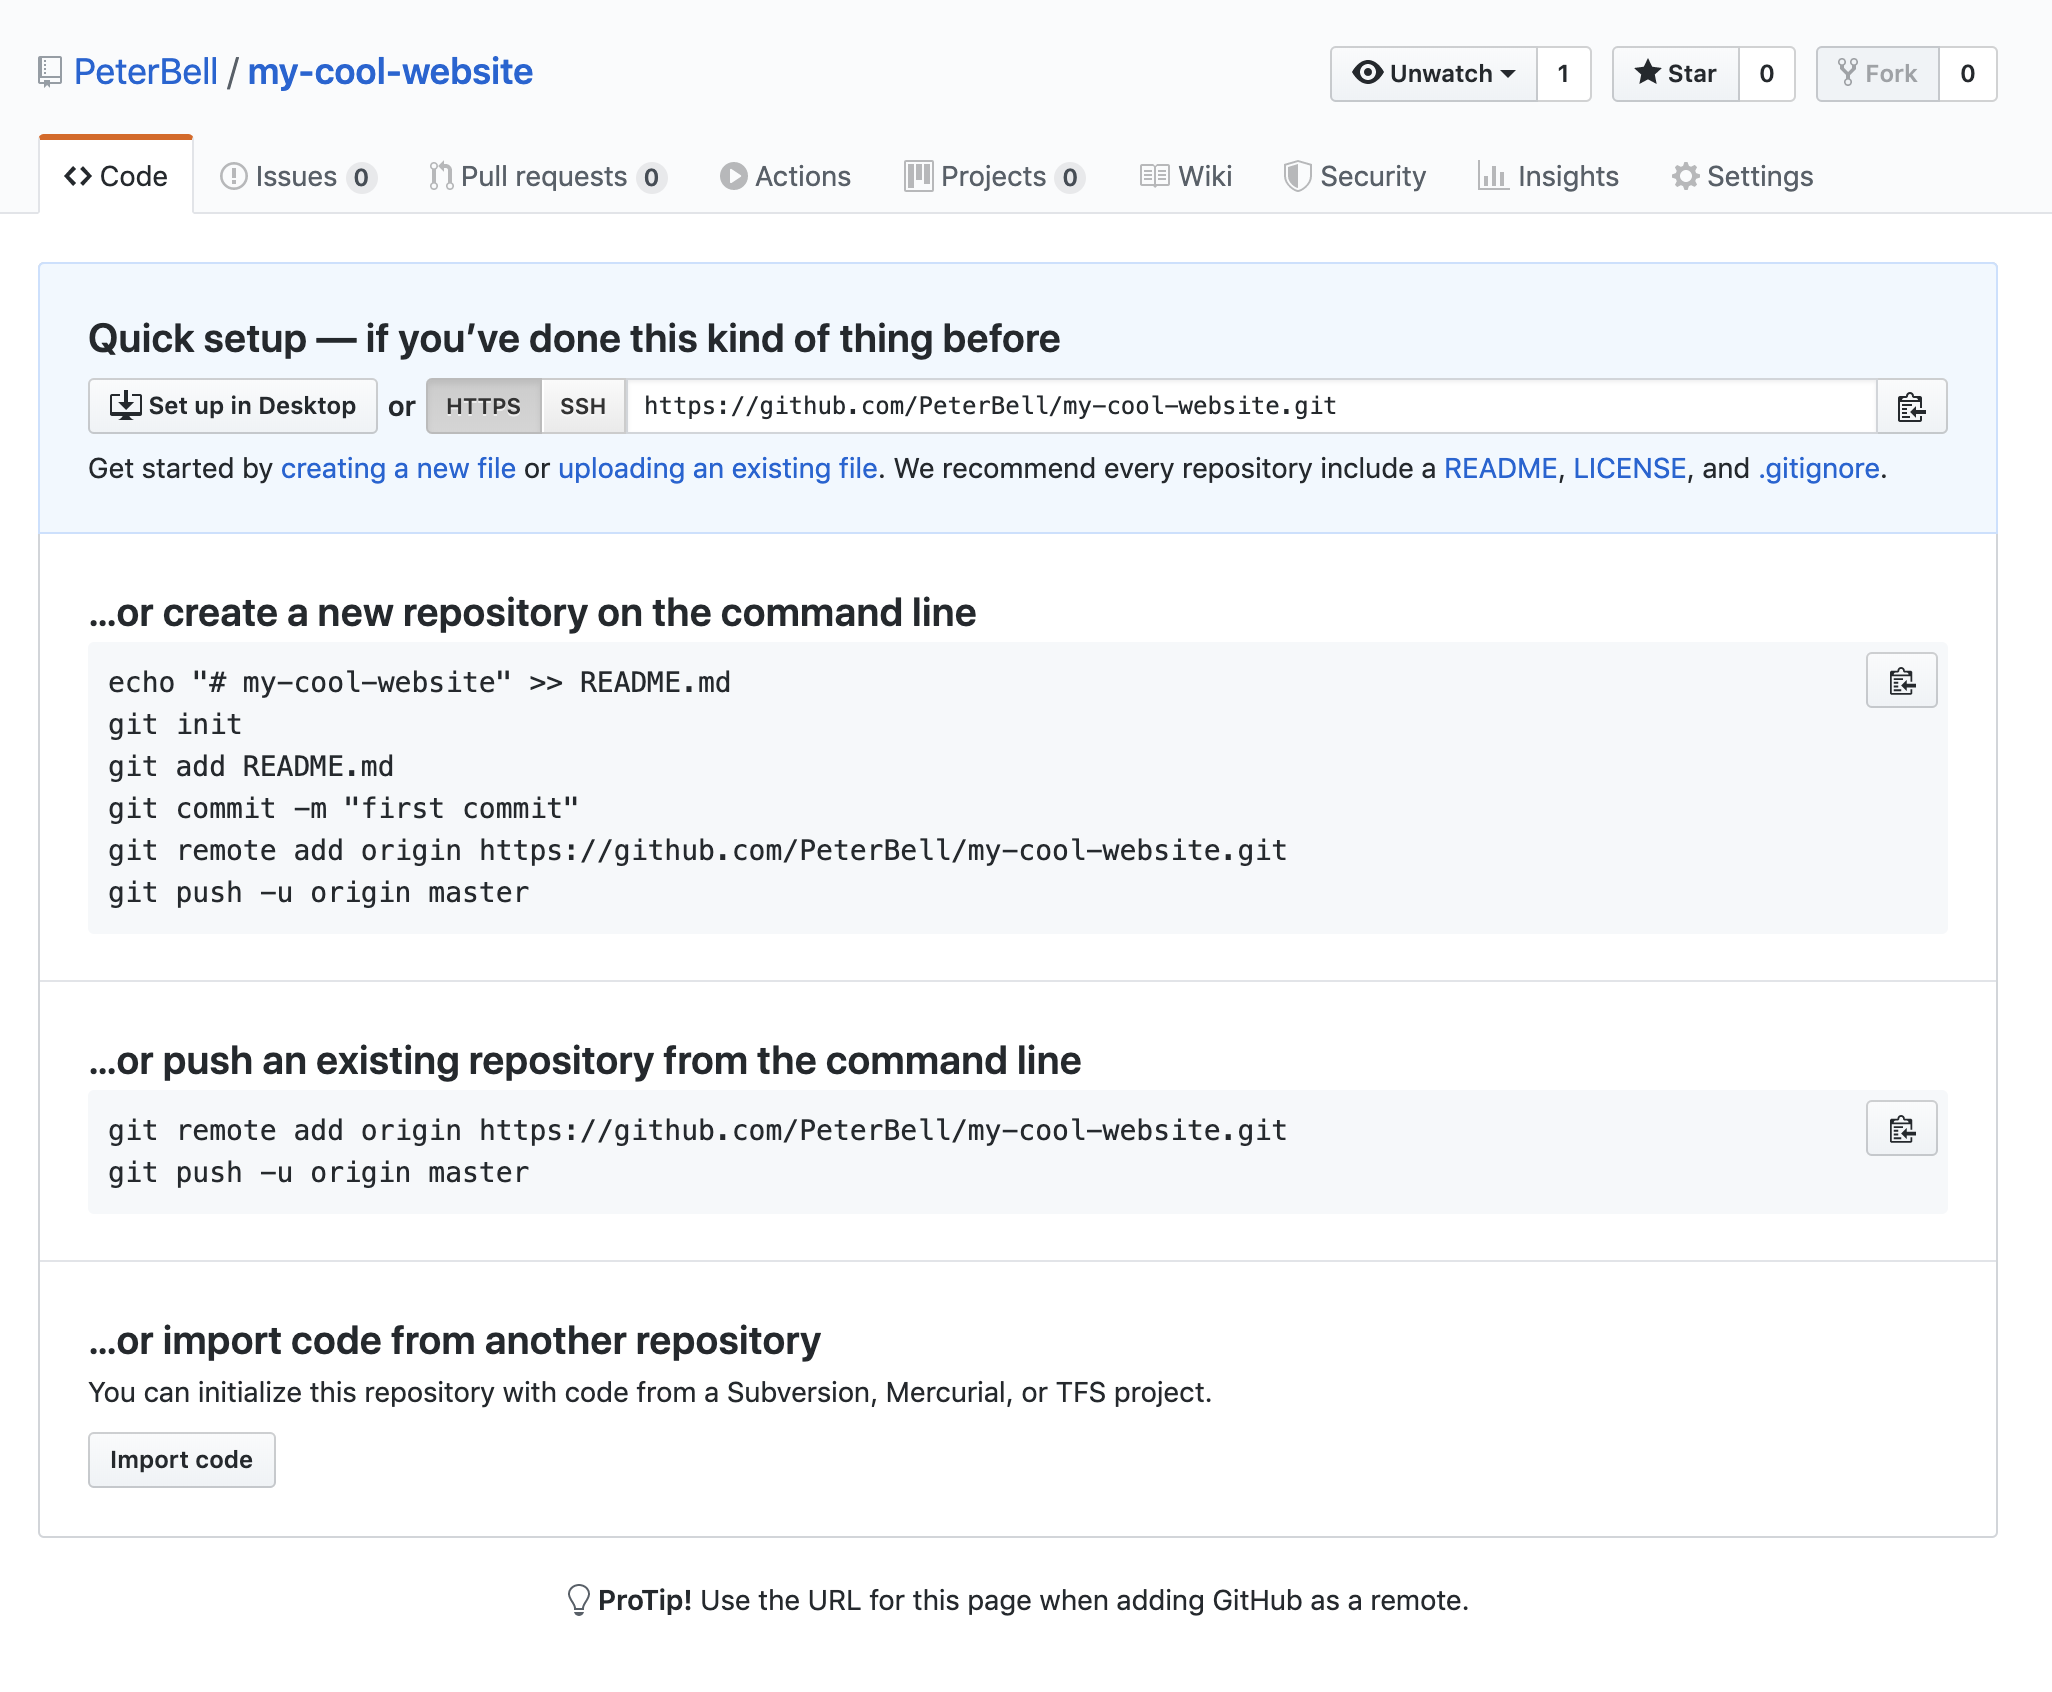
Follow the instructions for pushing an existing repo from the command line. In my case the commands are:
> git remote add origin https://github.com/PeterBell/my-cool-website.git

> git push -u origin master

Enumerating objects: 3, done.

Counting objects: 100% (3/3), done.

Writing objects: 100% (3/3), 226 bytes | 226.00 KiB/s, done.

Total 3 (delta 0), reused 0 (delta 0)

To https://github.com/PeterBell/my-cool-website.git

 * [new branch]      master -> master

Branch 'master' set up to track remote branch 'master' from 'origin'.
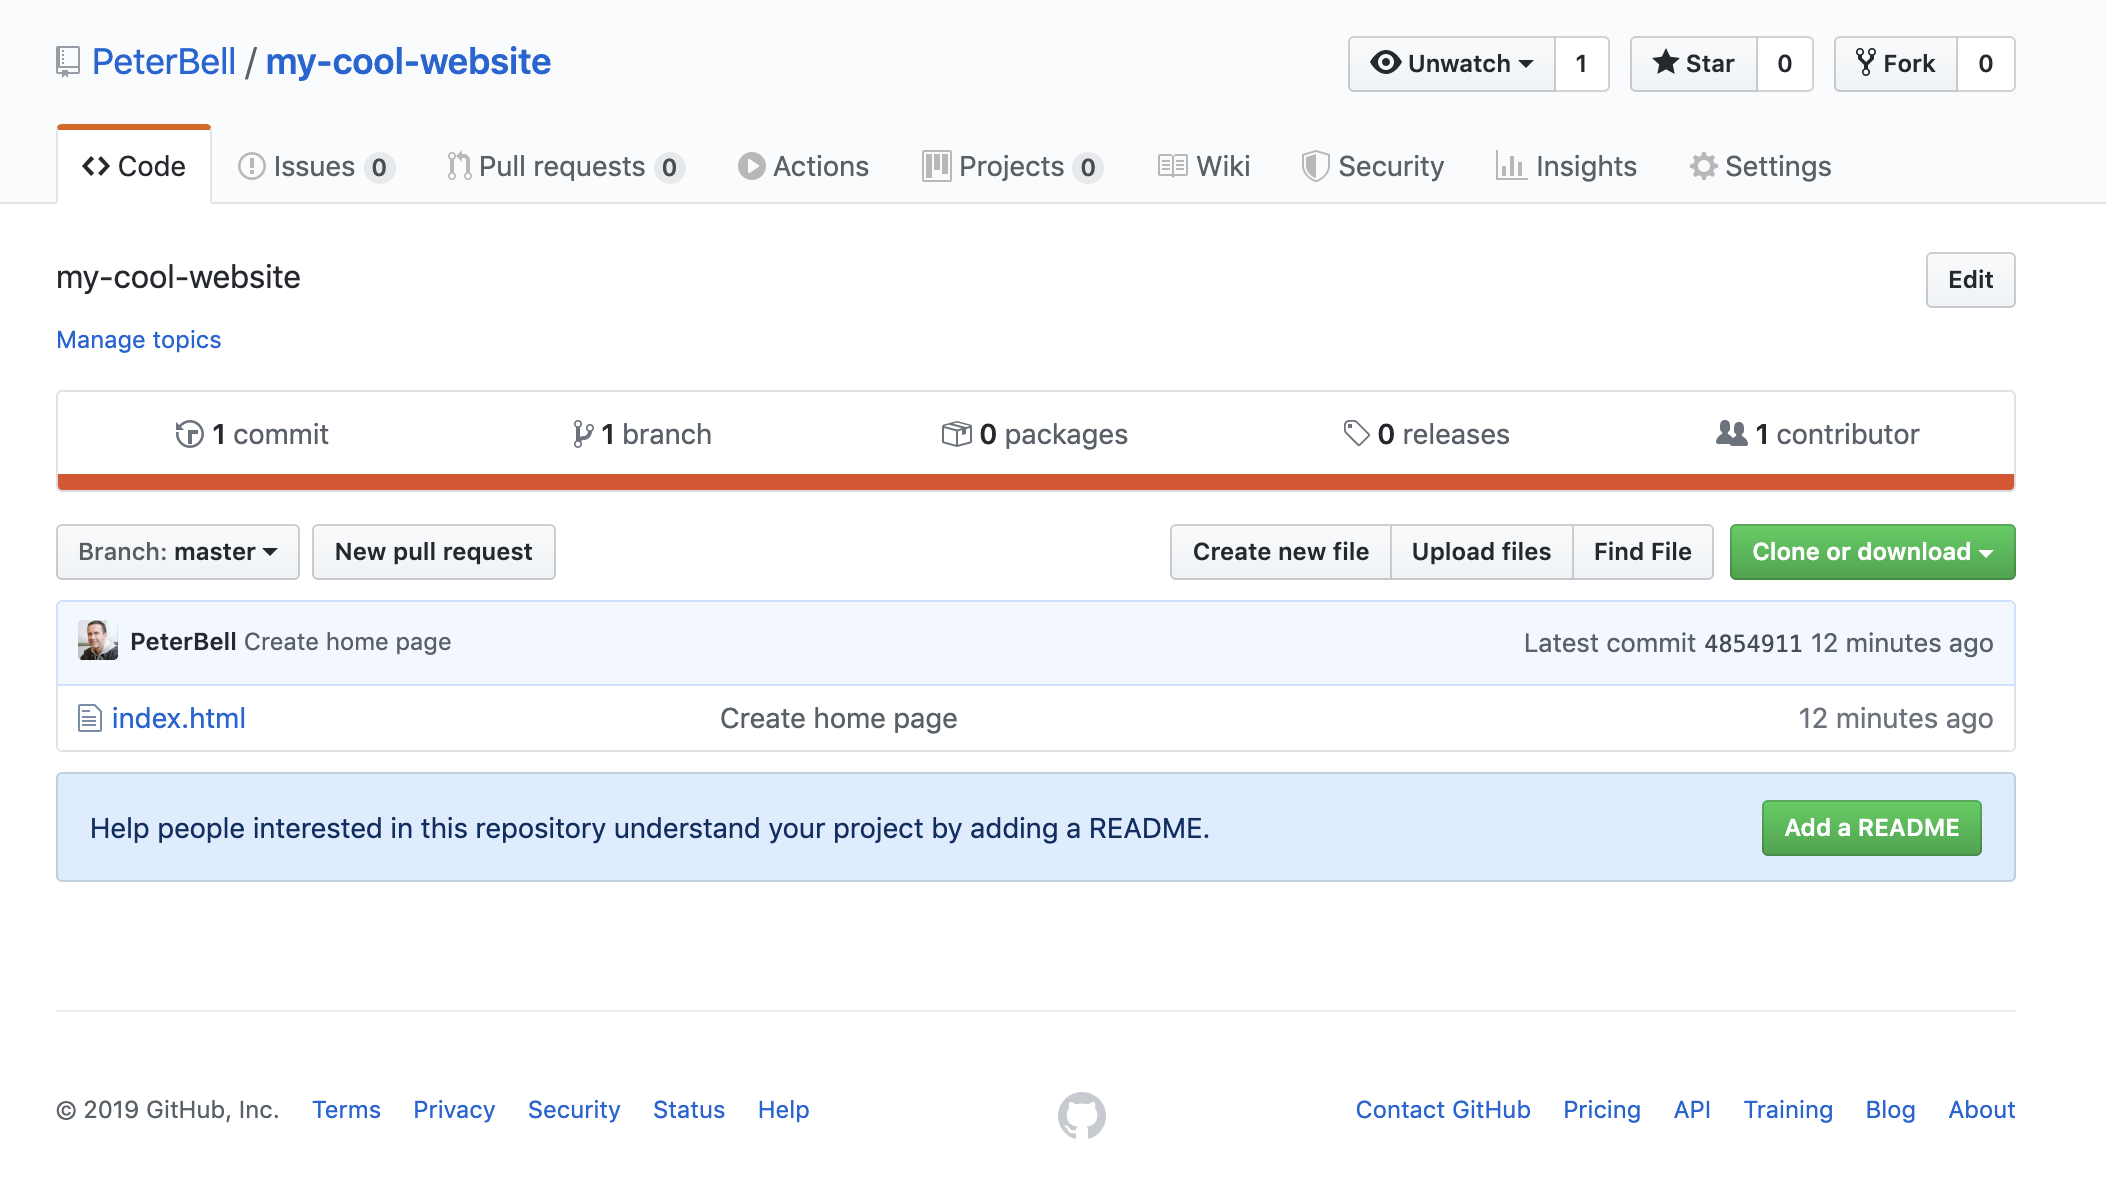
Then refresh the page in the browser, and congratulations, you now have your first repository up and hosted on GitHub!
And if you want to make a change to the project (perhaps add an About Us page), you just need to code (make the changes), commit (save them into Git) and then push (send them up to GitHub).
> echo “About us page” >> about.html

> git add .

> git commit -m “Add about us page”

[master 330a8d1] Add about us page

 1 file changed, 1 insertion(+)

 create mode 100644 about.html
> git push

Enumerating objects: 4, done.

Counting objects: 100% (4/4), done.

Delta compression using up to 8 threads

Compressing objects: 100% (2/2), done.

Writing objects: 100% (3/3), 296 bytes | 296.00 KiB/s, done.

Total 3 (delta 0), reused 0 (delta 0)

To https://github.com/PeterBell/my-cool-website.git

   4854911..330a8d1  master -> master
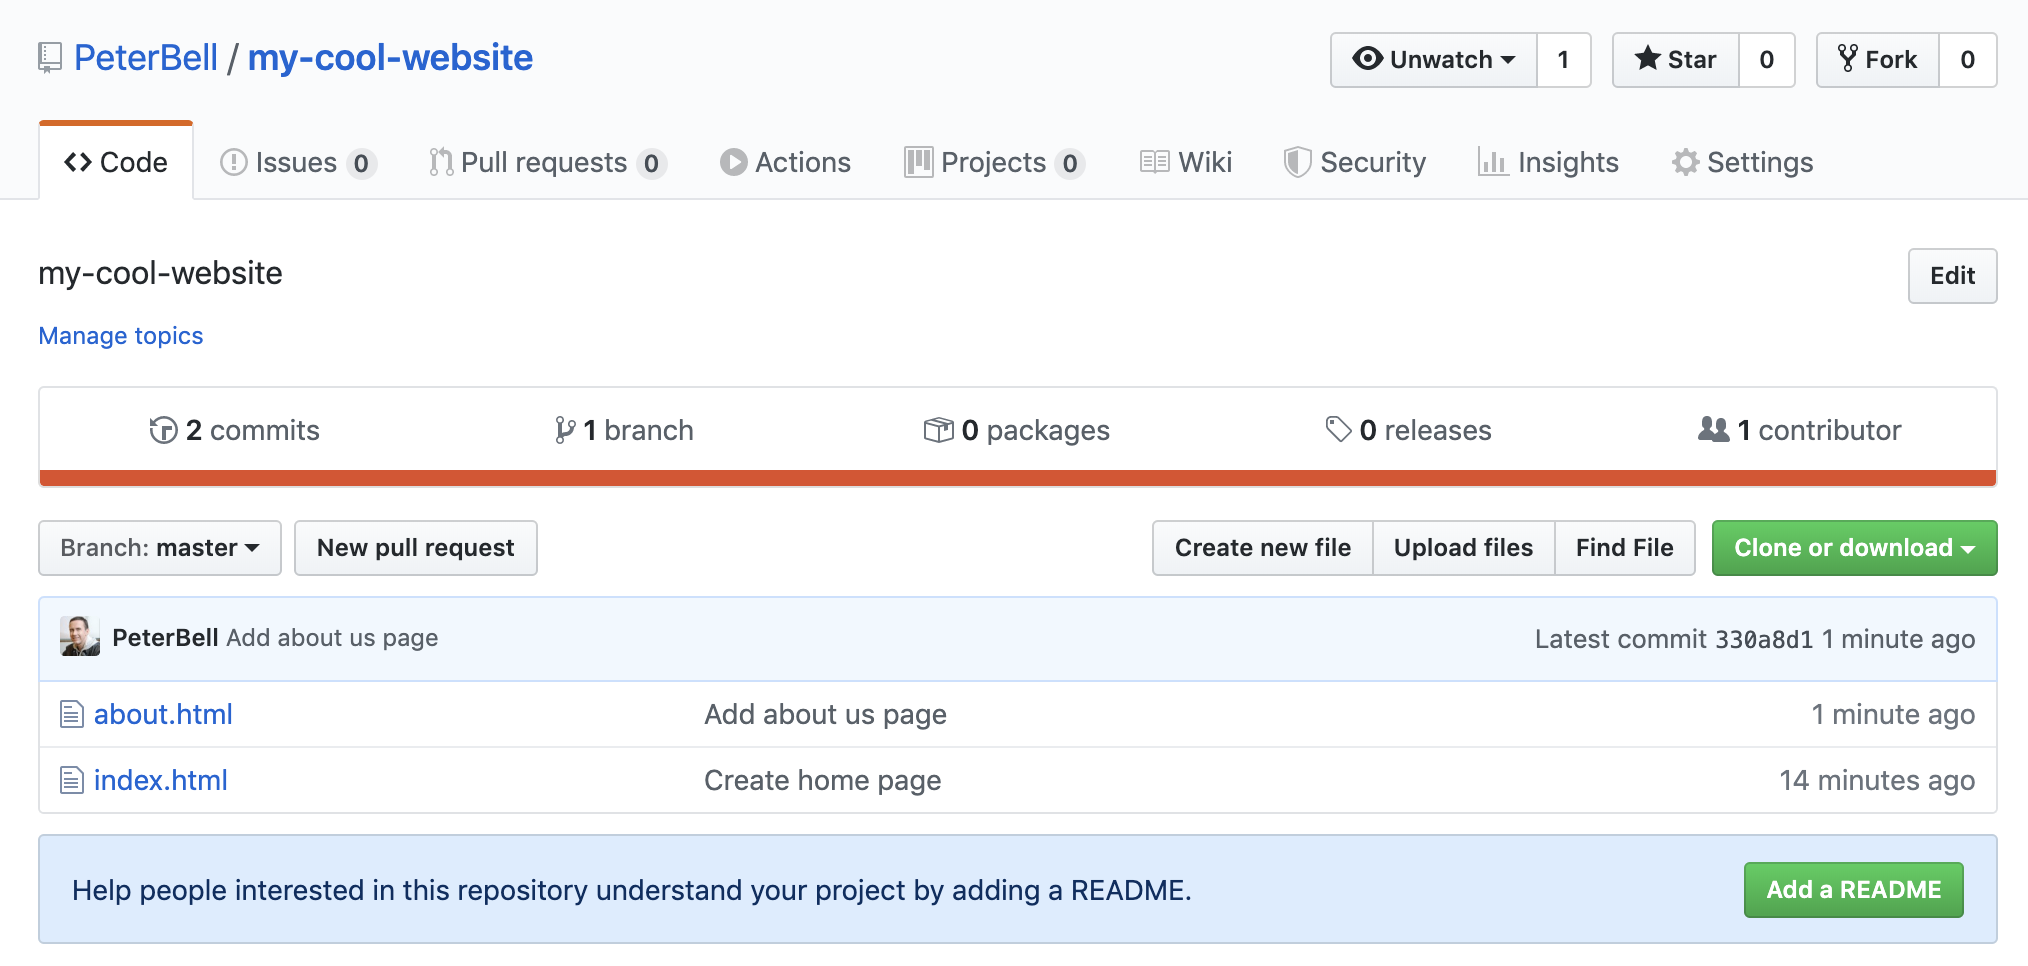
And now if you refresh the page, you’ll see that both files are showing and that the number of commits is now two!
Contributing to a project
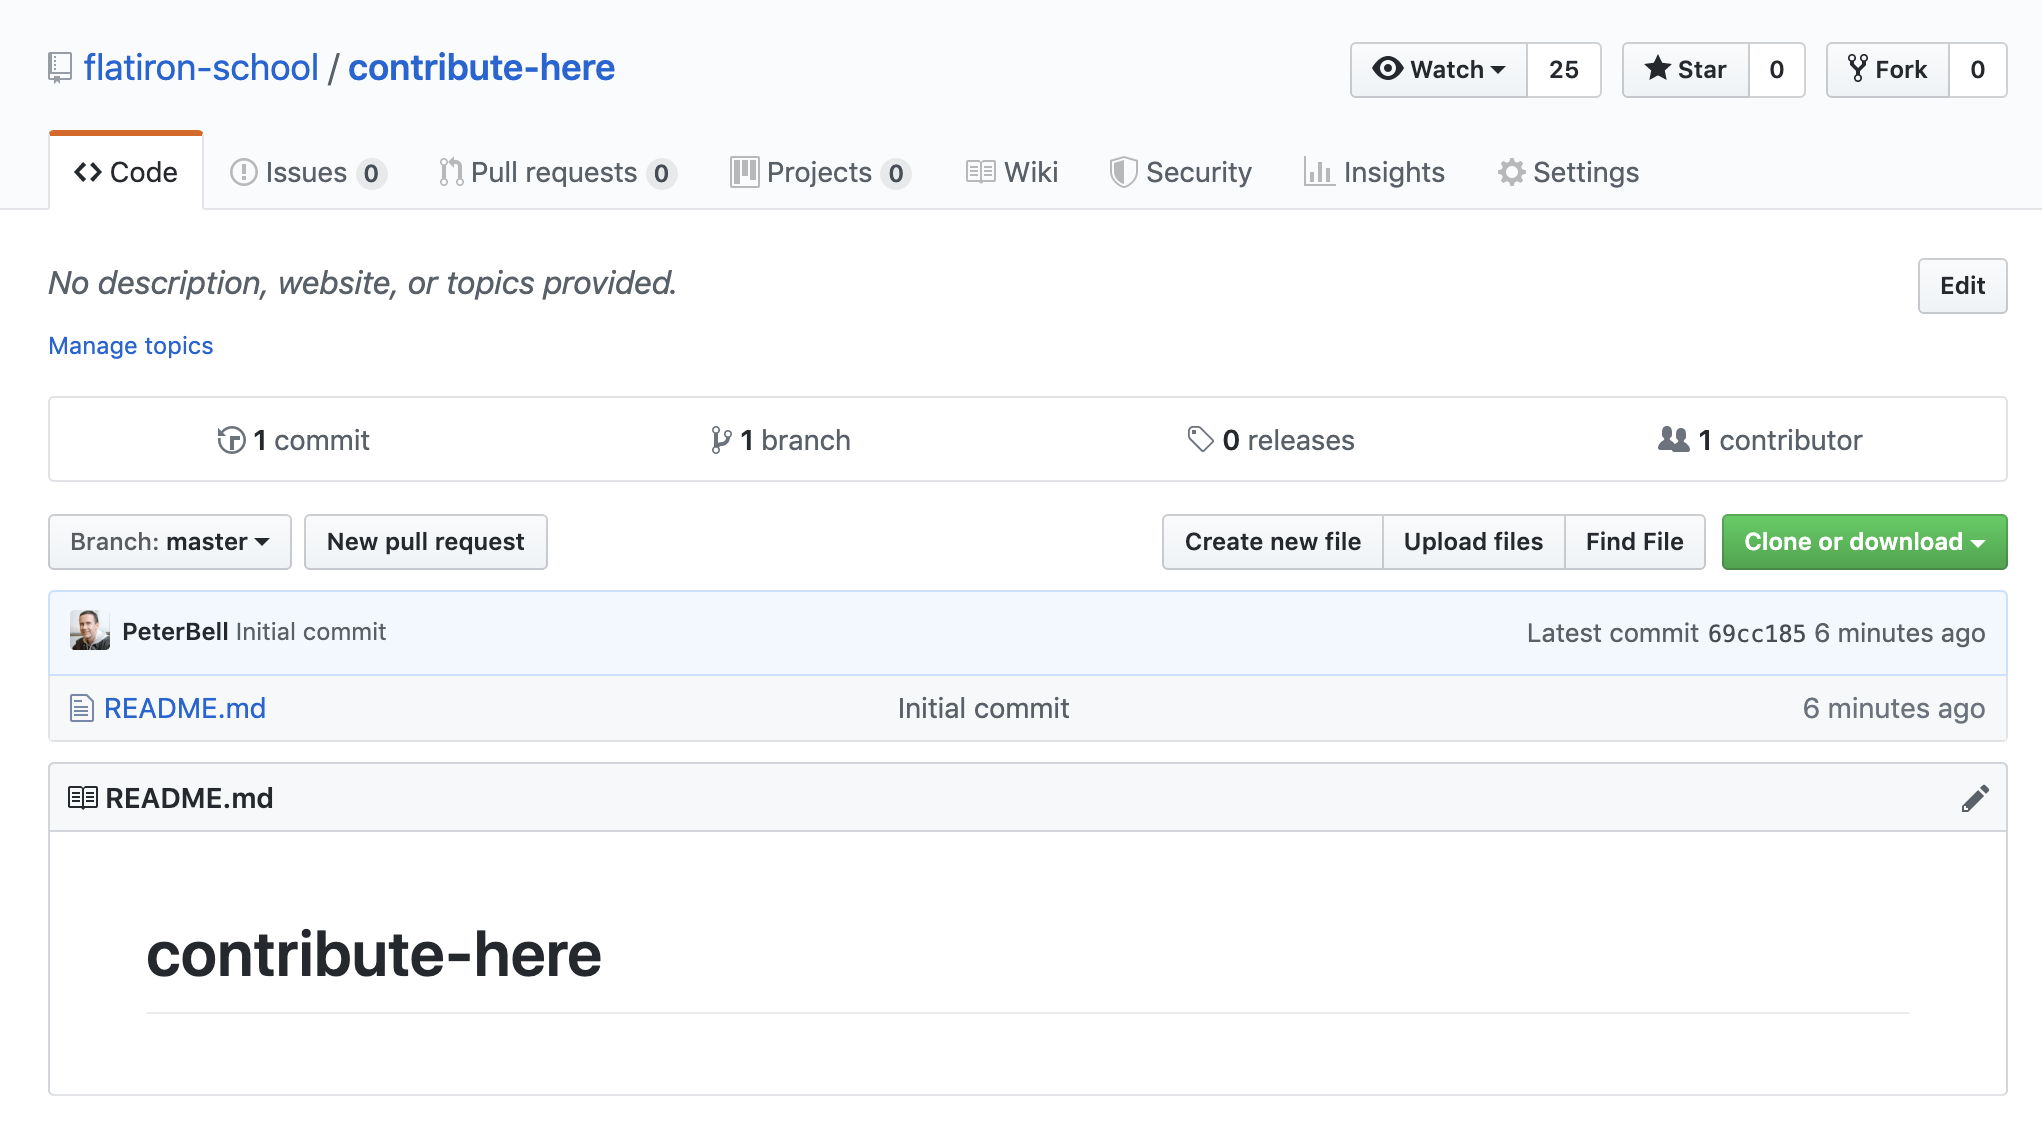
Let’s finish up by making a very simple contribution to a project just to get a sense of how it works. I created a project under the Flatiron School organization here. Let’s go through the process of adding a file to the repo.
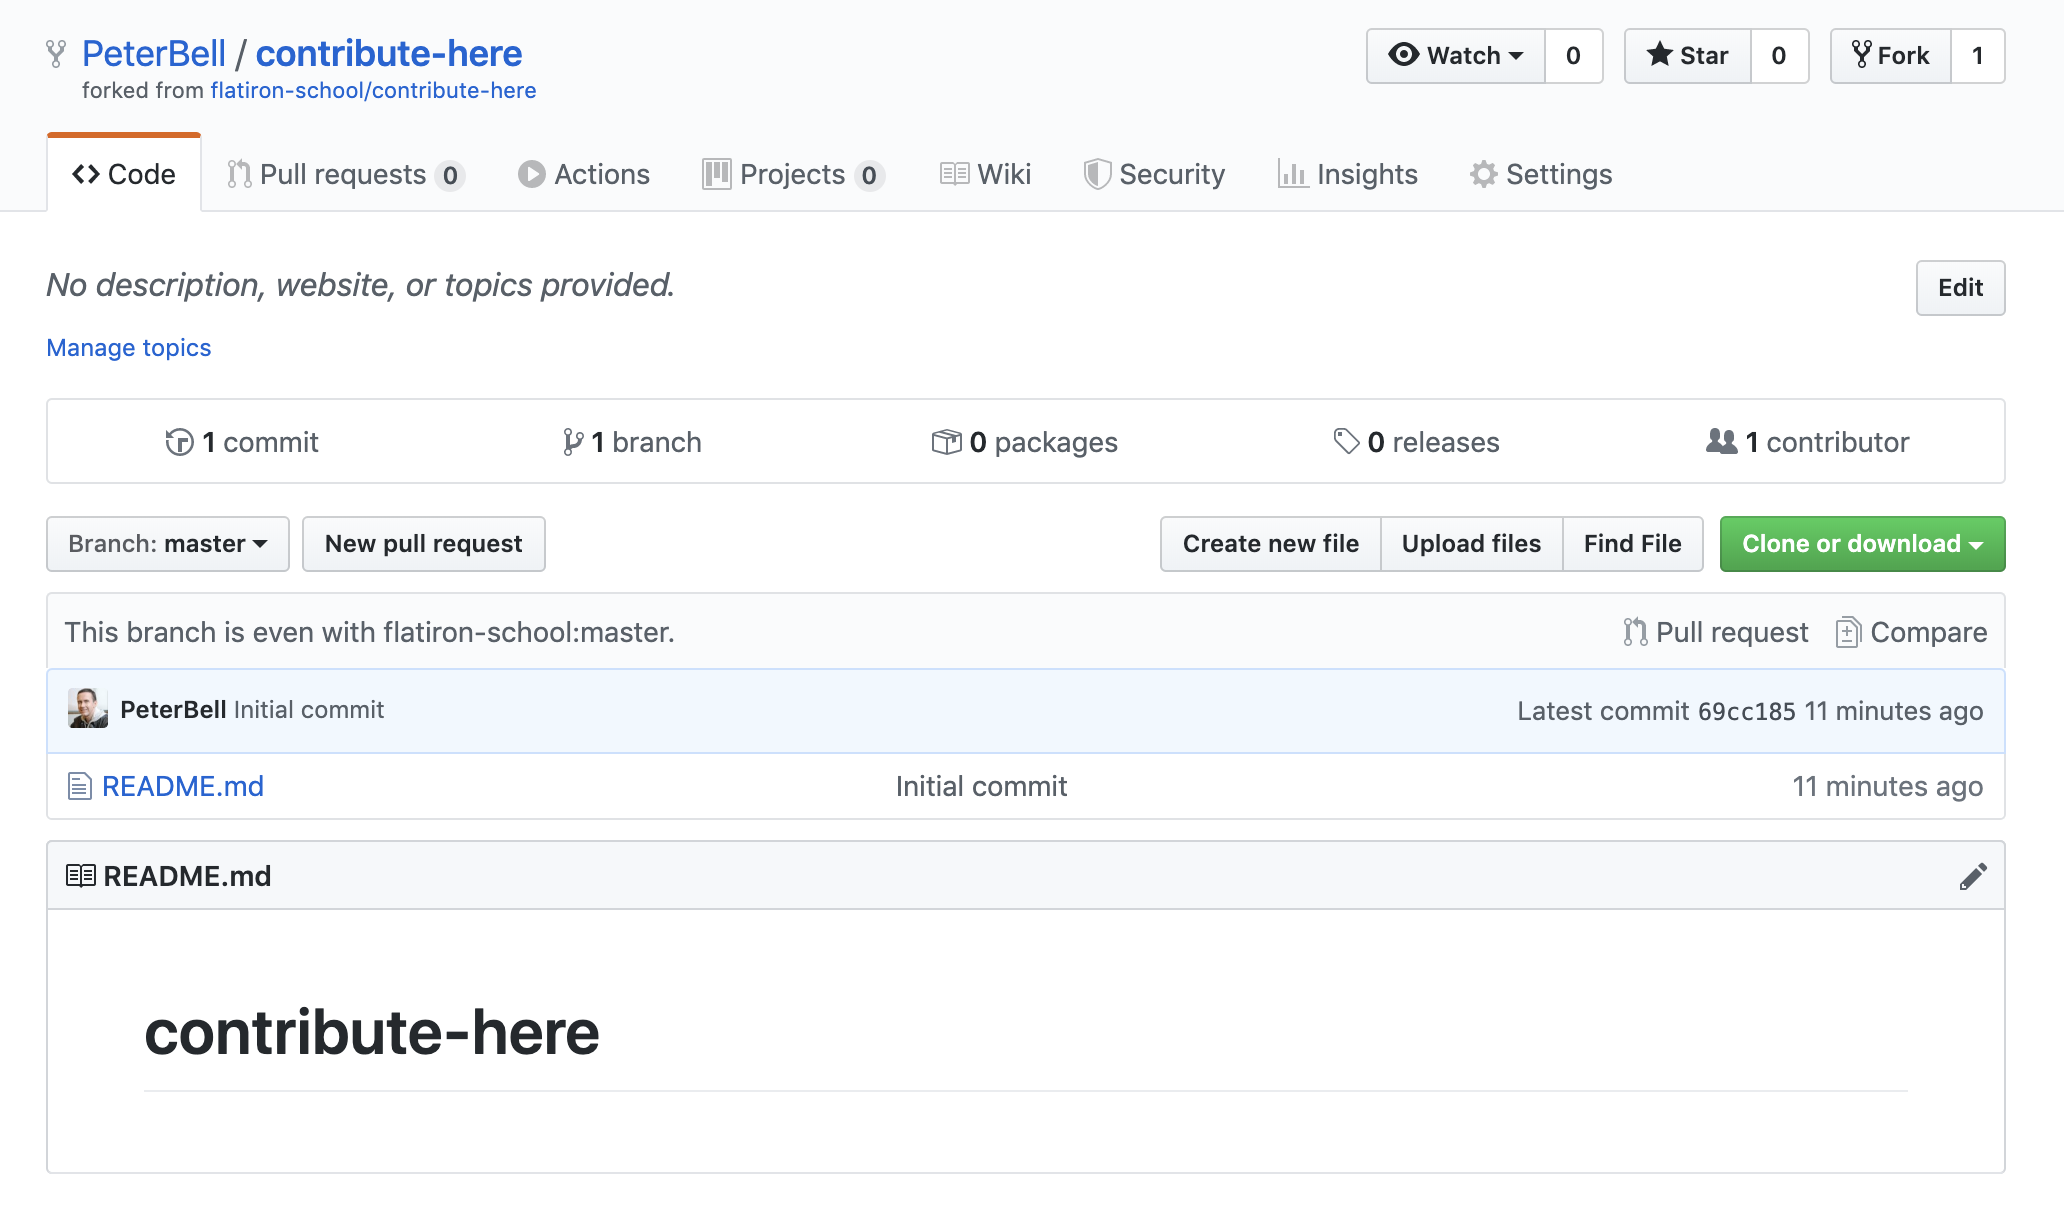
Firstly, we need to fork (make our own copy) of the repo. To do that, click the fork button on the top right. When you do that it’ll either immediately fork the repo, or pop up a small window asking you where you want to fork it if you have access to various organizational accounts. If it gives you the option, just choose your personal account.
Once you’ve forked the repo, you’re going to see a very similar page, but note the URL — it’s changed from github.com/flatiron-school/<repository-name> to github.com/<your-username>/<repository-name> – so in my case it’s https://github.com/PeterBell/contribute-here
OK, now we have our own copy of the project, we can make changes to it. Let’s clone it to our hard drive, make a change, commit it, and push the change to our fork.
Start by ensuring you’re not in a Git repo. If you are, go up a directory and try again.
> git status

On branch master

Your branch is up to date with 'origin/master'.

nothing to commit, working tree clean
Hmm, so I’m in the my-cool-website repo still, let me go up a directory and try again:
> cd ..

> code git status

fatal: not a git repository (or any of the parent directories): .git
Perfect. Now to clone my fork (download my copy to my local computer), I’m just going to click on the green “Clone or download” button on the right of the screen:
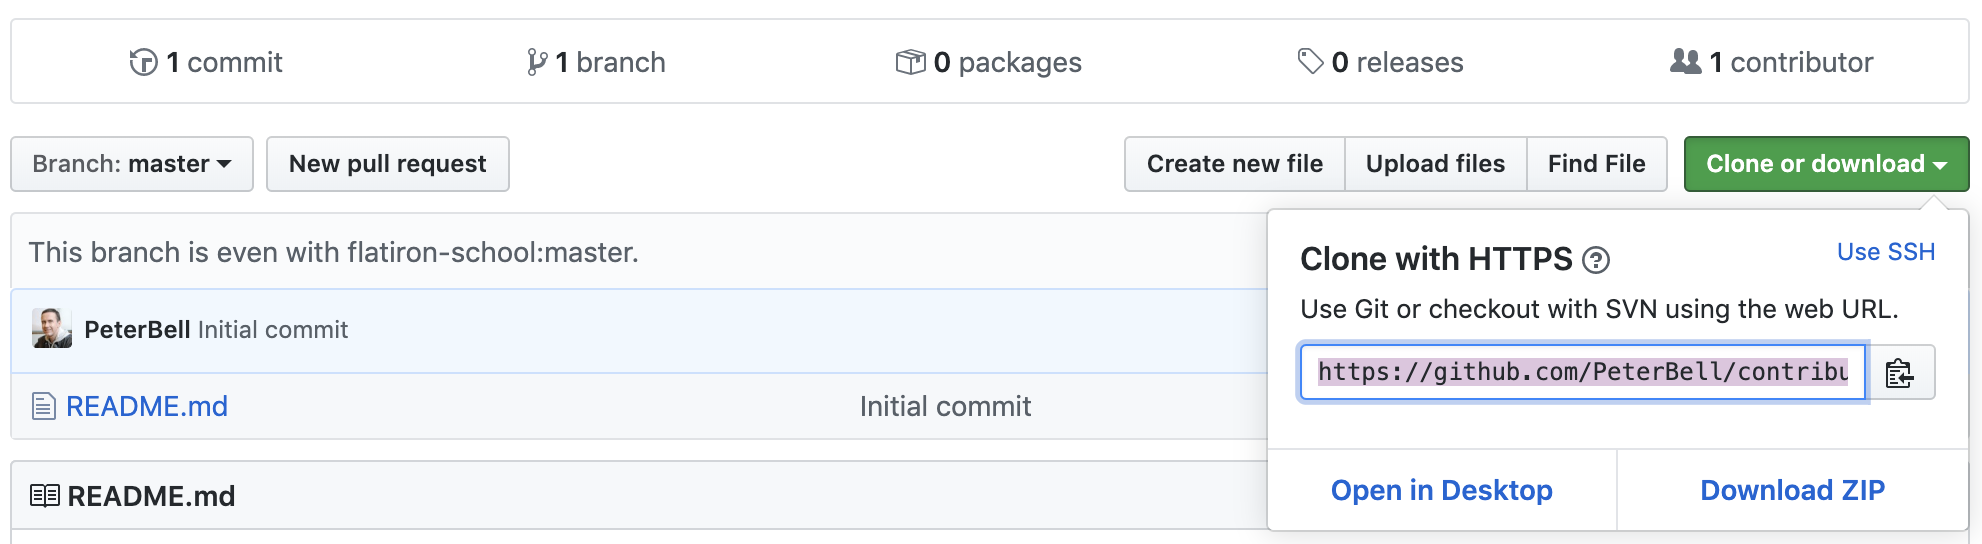
And then I’ll copy the URL, and then in a terminal window type git clone and then paste the URL:
> git clone https://github.com/PeterBell/contribute-here.git

Cloning into 'contribute-here'...

remote: Enumerating objects: 3, done.

remote: Counting objects: 100% (3/3), done.

remote: Total 3 (delta 0), reused 0 (delta 0), pack-reused 0

Unpacking objects: 100% (3/3), done.
Now let’s cd (change directory) into the directory, add a new file, commit it and push our changes up. I’m going to call my file “test-file.txt.” Call yours anything but that — otherwise there will be a conflict later.
> cd contribute-here

> touch test-file.txt

> git add .

> git commit -m "Added test file"

[master a136009] Added test file

 1 file changed, 0 insertions(+), 0 deletions(-)

 create mode 100644 test-file.txt
> git push

Enumerating objects: 4, done.

Counting objects: 100% (4/4), done.

Delta compression using up to 8 threads

Compressing objects: 100% (2/2), done.

Writing objects: 100% (3/3), 279 bytes | 279.00 KiB/s, done.

Total 3 (delta 0), reused 0 (delta 0)

To https://github.com/PeterBell/contribute-here.git

   69cc185..a136009  master -> master
Now refresh the page in the browser and you should see the extra file you created.

Now the final step is to create a pull request to request that your file get merged back into the original project. Click the “New pull request” button:
Just leave the “comparing changes” – it’s right. It’s saying you want to merge the changes from your repository (master branch) into the original repo (master branch) which is correct.
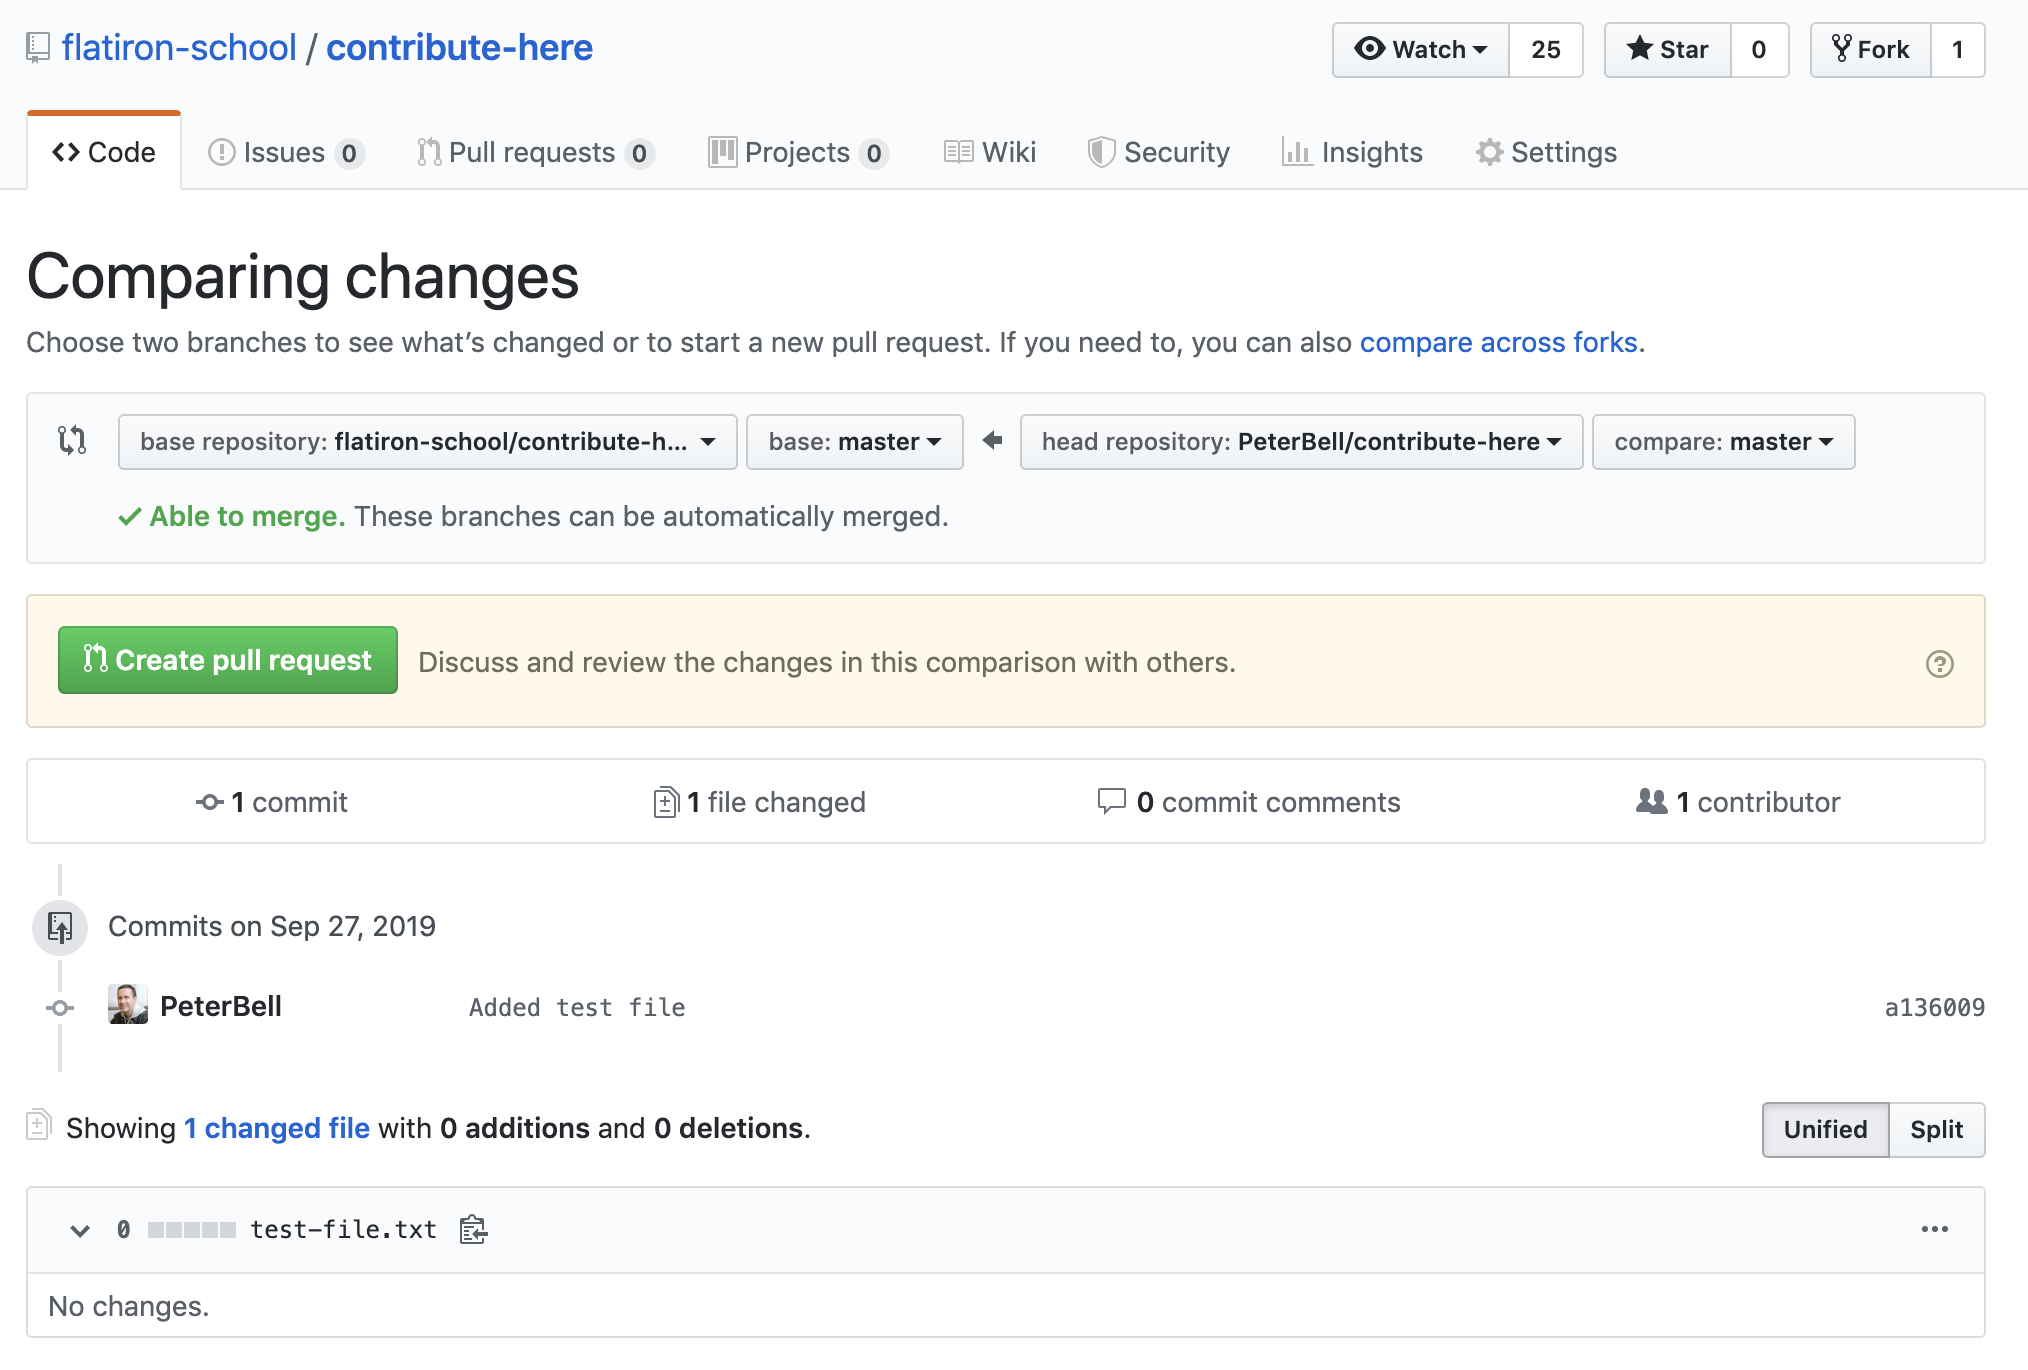
Click the green “Create pull request” button. Now you get a title and description where you can explain the change you made and why you think it’s a good addition to the project.
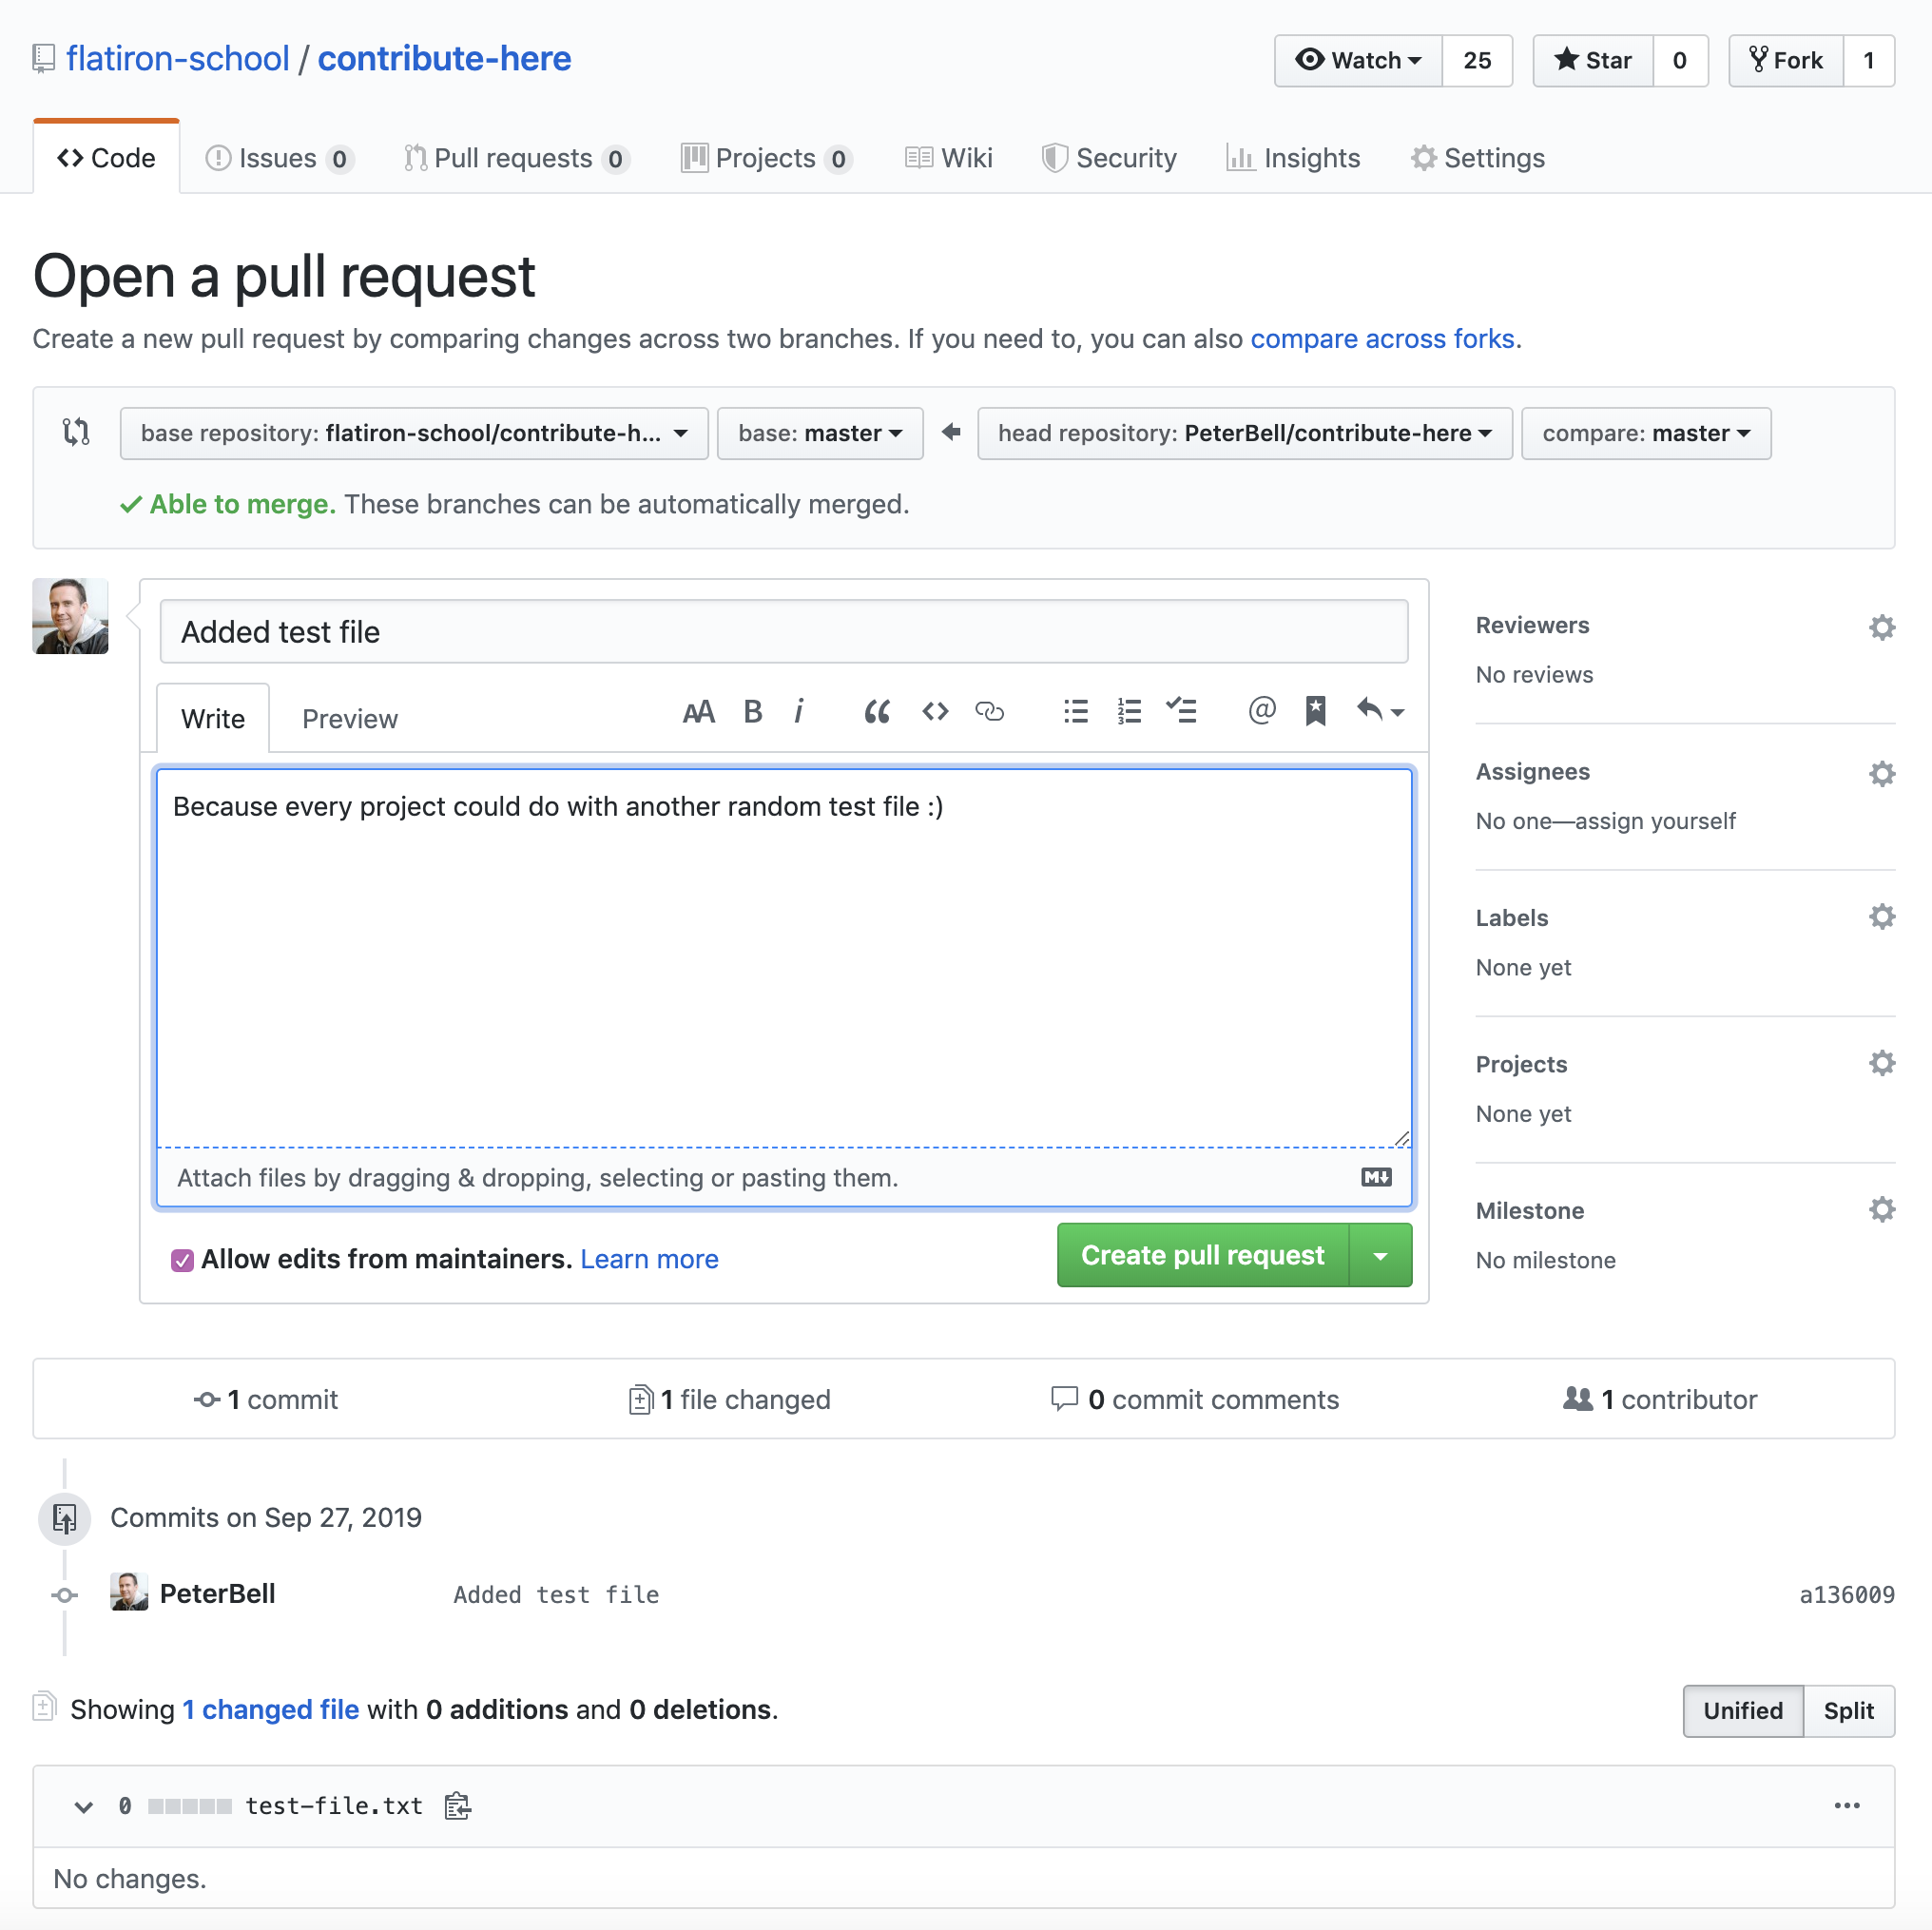
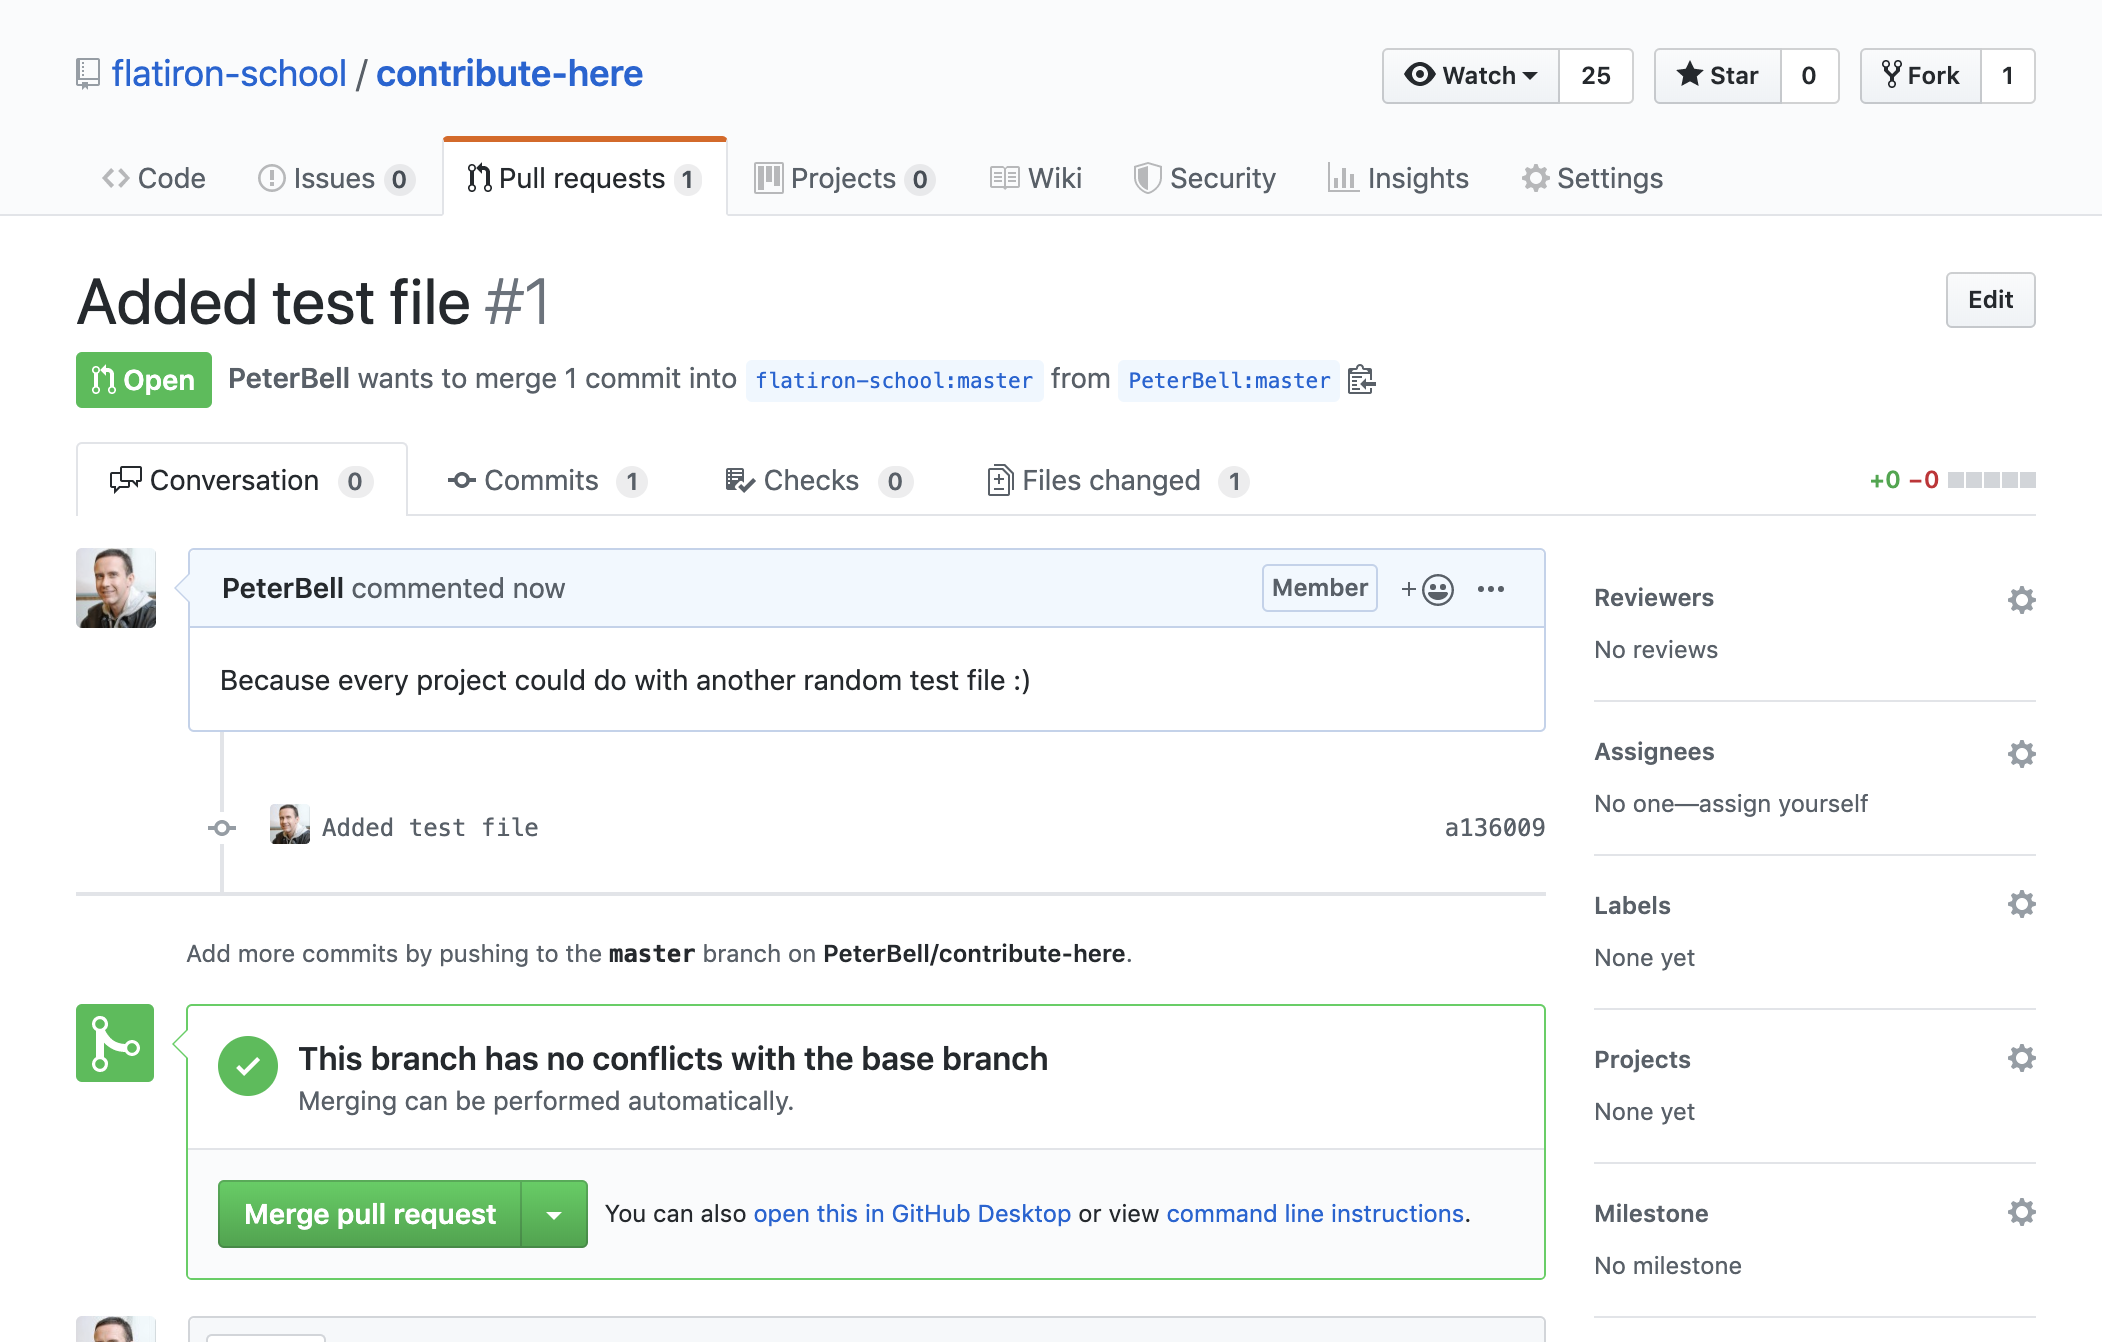
When you’re ready, click the green “Create pull request” button and it’ll take you to the PR page where anyone can now go in, review and comment on your code, and the project owner can merge your work in if they like it!
Next steps
There’s still a bunch to learn about collaborating using Git and GitHub — so look out for some upcoming articles later in the year! In Git, you probably want to learn more about branching (both the strategy and the mechanics) and how to undo things when you get your repo into a mess.
For GitHub, you should definitely learn a little more about issues, releases, and some of the other cool features built in. For now, at least, you know what GitHub is, why it became so popular, and you’ve had a little hands on experience both creating and contributing to a repo.
Disclaimer: The information in this blog is current as of October 15, 2019. Current policies, offerings, procedures, and programs may differ.