How to Close a Git Pull Request

With a git workflow, you become used to commands like git add filename and git commit -m “add filename”.
The following is a guest post by Rex Feng and originally appeared on his blog. Rex is currently a student a The Flatiron School. You can learn more about him here, or follow him on twitter here.
With a git workflow, you become used to commands like git add filename and git commit -m “add filename”. When you maintain an open source project and get a pull request, the exact workflow may get murky. How do you review the pull request work? How do you accept the commit if it passes muster?
This post will cover how to review, accept, and close a GitHub pull request.
In our example, we are the creator of a popular open source project called breakfast-sandwich. In our rush to get the product out, we forgot a critical piece – the breakfast sandwich has no cheese! Luckily, our project is open source and we’ve already received a pull request to add cheese to our sandwich.
Here’s the ingredients list.txt file initial state, missing cheese:

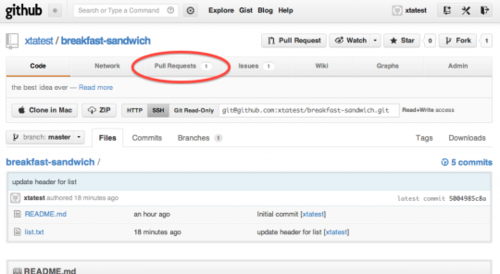
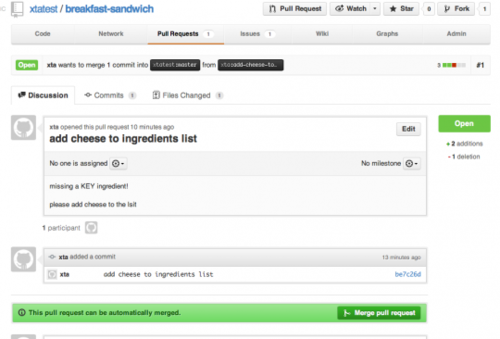
Here’s the pull request on GitHub:

A pull request received

The Pull Request detail
1. Add the fork’s pull request repo as a remote

You can verify that the remote xta has been added by running the git remote command.
2. Fetch the git data from remote

3. Checkout the remote branch

4. Checkout to a new test branch

5. Test the current branch
For this step, you would need to perform whatever steps your project deems appropriate before accepting a pull request.
We can open up list.txt and see that it now contains cheese:

As the updated ingredients from xta/master pass our critiera, we need to merge it back into master branch.
6. Check your feature branch against master to make sure any merge conflicts happen in your feature branch

7. Merge feature branch into master
First, switch to master branch:

Then merge the feature branch into master.

8. Push your master onto GitHub
Great job! We’ve reviewed the feature branch, merged it into master locally. So now, we need to make sure the internet has access to our open source breakfast sandwich that includes cheese.

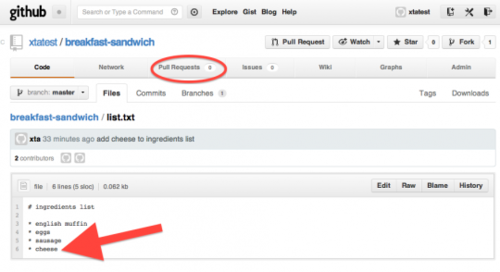
When you look at your GitHub repo, you’ll see that the pull request is now closed. Most importantly, our breakfast sandwich has cheese!

Disclaimer: The information in this blog is current as of November 19, 2012. Current policies, offerings, procedures, and programs may differ.


